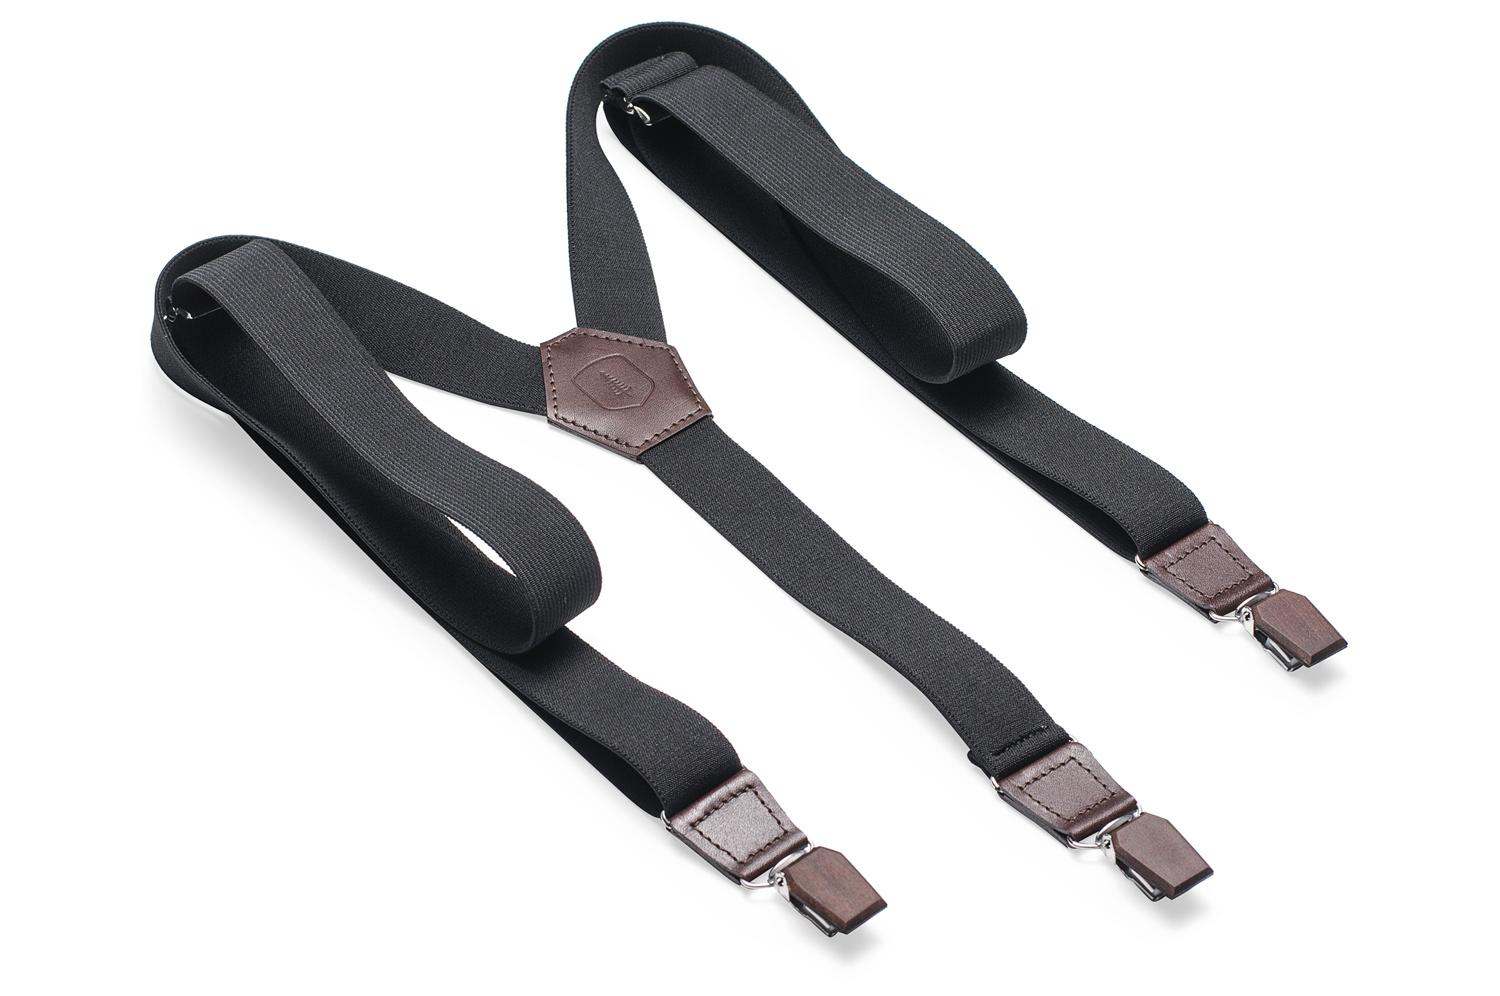
Home>How-to Guides>For All>How To Make Suspenders
For All
How To Make Suspenders
Modified: September 23, 2023
Learn how to make suspenders for all occasions with this easy step-by-step guide. Whether it's for a formal event or casual wear, create stylish and adjustable suspenders to complete your outfit.
(Many of the links in this article redirect to a specific reviewed product. Your purchase of these products through affiliate links helps to generate commission for Under-tec.com, at no extra cost. Learn more)
Table of Contents
Introduction
Suspenders, also known as braces, have been a fashion accessory for decades. They are not only functional, but they also add a touch of sophistication to any outfit. Whether you’re looking to make your own suspenders for a special occasion or simply want to add a unique accessory to your wardrobe, this step-by-step guide will walk you through the process.
In this article, we will discuss the materials needed, the measurements, and the sewing techniques required to create your very own suspenders. By following these simple steps, you can customize your suspenders to match your personal style and ensure a perfect fit.
Before we dive into the details, it’s important to note that this DIY project requires basic sewing skills and a sewing machine. However, it is a beginner-friendly project that anyone can easily accomplish with a little time and patience.
So, let’s grab our materials and get ready to create some stylish suspenders that are sure to make a statement.
Materials Needed
Before you begin making your suspenders, it’s important to gather all the necessary materials. Having everything prepared beforehand will make the process smoother and more efficient. Here’s a list of the materials you will need:
- Fabric: Choose a sturdy fabric like cotton, denim, or nylon. Make sure it’s wide enough to comfortably fit the width of your suspenders.
- Elastic: Opt for a wide elastic band that has good stretch and durability. The width should be appropriate for the size of your suspenders.
- Thread: Use a thread color that matches your fabric for a seamless finish.
- Scissors: Sharp fabric scissors will make cutting the material easier and more precise.
- Measuring tape: Accurate measurements are crucial for well-fitting suspenders, so a measuring tape is essential.
- Sewing machine: While it’s possible to sew suspenders by hand, a sewing machine will provide faster and more secure stitches.
- Needles: Have a set of needles on hand for any hand-sewing tasks that may arise.
- Adjusters: These metal or plastic pieces will allow you to adjust the length of your suspenders. Choose a style that suits your aesthetic preference.
- Clips: Find durable suspender clips that will securely attach the suspenders to your pants. You may choose metal or plastic clips, depending on your preference.
- Iron and ironing board: These will be used to press the fabric and create crisp, professional-looking seams.
Once you have gathered all these materials, you will be well-prepared to move on to the next step of the process: choosing the fabric.
Step 1: Choosing the Fabric
When it comes to making suspenders, selecting the right fabric is crucial. You want a fabric that is not only durable but also adds a stylish touch to your overall look. Here are a few factors to consider when choosing the fabric for your suspenders:
- Sturdiness: Suspenders need to withstand the tension placed on them, so opt for a fabric that is sturdy and can hold up well over time. Cotton, denim, and nylon are excellent choices for their durability.
- Elasticity: The fabric should have a certain level of stretch to ensure a comfortable fit. Look for a fabric blend that includes elastic fibers or choose a fabric that has natural stretch, like ribbed cotton.
- Thickness: Consider the thickness of the fabric based on the season and your personal preferences. Thicker fabrics like denim are great for cooler months, while lightweight fabrics like cotton are suitable for warmer climates.
- Aesthetics: The fabric you choose should align with your personal style and the occasion you’ll be wearing the suspenders for. Solid colors or subtle patterns are versatile options that can complement various outfits.
Before making your final decision, it’s a good idea to take swatches of the fabric and hold them against different clothing items in your wardrobe. This will give you a better sense of how the fabric will look when paired with various colors and patterns.
Once you have chosen the fabric, make sure to measure the width of the fabric to ensure it is wide enough to comfortably fit the suspender clips and adjusters. It’s also helpful to pre-wash and iron the fabric before starting the sewing process to prevent any shrinking or distortion later on.
Now that you have selected the perfect fabric for your suspenders, it’s time to move on to the next step: measuring and cutting the fabric.
Step 2: Measuring and Cutting the Fabric
Before you can start sewing the suspenders, you need to accurately measure and cut the fabric to the desired length and width. Follow these steps to ensure a precise and well-fitting result:
- Measure your body: Begin by measuring the distance between the front and back of your pants, where you want the suspenders to attach. This will determine the length of your suspenders. Typically, suspenders range from 36 to 48 inches in length, but adjust according to your preference.
- Calculate the width: Measure the width of the suspender clips and adjusters you will be using. Add this measurement to the width you want your suspenders to be. A standard width is usually around 1 to 2 inches.
- Prepare the pattern: Using these measurements, create a pattern on a large piece of paper or cardboard. This pattern will serve as a guide for cutting the fabric.
- Align the fabric: Fold your fabric in half lengthwise, ensuring the right sides are together. This will create a folded edge that will form the center of the suspenders.
- Place and trace the pattern: Lay the pattern on top of the fabric, aligning the fold of the fabric with the centerline of the pattern. Trace the pattern onto the fabric, making sure to mark the cut lines accurately.
- Cut the fabric: Use sharp fabric scissors to carefully cut along the traced lines. Take your time and cut as smoothly and accurately as possible to ensure tidy edges.
Once you have cut the fabric, unfold it to reveal the two identical straps that will become the suspenders. At this point, you may want to press the fabric with an iron to smooth out any wrinkles or creases.
Congratulations! You have now completed the second step of making suspenders. Your fabric is measured, cut, and ready for the next stage: sewing the straps.
Step 3: Sewing the Straps
Now that you have your fabric straps cut to the desired length and width, it’s time to sew them together to create the foundation of your suspenders. Follow these steps to sew the straps:
- Preparation: Thread your sewing machine with a thread color that matches your fabric. Set your sewing machine to a straight stitch with a medium-length stitch length. This will ensure that the stitches are secure and not too visible.
- Positioning: Take one of the fabric straps and fold it in half lengthwise, with the right sides facing each other and the long edges aligned. Pin the edges together to hold them in place.
- Sewing: Starting at one end of the strap, sew a straight stitch along the long edge, about a quarter-inch from the edge. Sew all the way to the other end, backstitching at the beginning and end for extra reinforcement.
- Repeat: Repeat the previous steps with the second fabric strap. Make sure that both straps are sewn in exactly the same way for consistency.
- Trimming: Once both straps are sewn, trim any excess fabric and threads, leaving a small seam allowance. This will give your suspenders a cleaner and more professional finish.
- Pressing: Use an iron to press the sewn straps, opening up the seam and pressing it flat. This will give your suspenders a neater appearance.
After completing these steps, you will have two fabric straps sewn together, forming the base of your suspenders. The next step is to add adjusters to ensure the suspenders can be adjusted to your desired length. This will be covered in step 4.
Step 4: Adding the Adjusters
Now that you have your fabric straps sewn together, it’s time to add the adjusters. These metal or plastic pieces allow you to adjust the length of your suspenders to ensure a comfortable fit. Here’s how you can add them:
- Placement: Determine where you want the adjusters to be located on your suspenders. This is usually near the front of the straps, where they will rest over your shoulders.
- Marking: Use a fabric pen or chalk to mark the placement of the adjusters on each strap. Make sure the markings are symmetrical and aligned.
- Opening the adjusters: Take one strap and open the adjuster by pulling or twisting it to unlock the teeth. Be careful not to damage the fabric as you do this.
- Inserting the strap: Insert the end of the strap into the opening of the adjuster, ensuring the teeth grip the fabric securely. Pull the strap through, leaving enough room for adjustment but not too much excess fabric.
- Securing the adjusters: Once the strap is inserted, close the adjuster by pushing or twisting it back into place, locking the teeth securely around the fabric.
- Repeat the process: Repeat these steps for the other strap, making sure the adjusters are aligned with the markings you made earlier.
Once the adjusters are securely attached to the fabric straps, you can try on the suspenders and make any necessary adjustments to ensure a comfortable fit. The adjusters will allow you to easily increase or decrease the length of the straps according to your preference.
With the adjusters in place, your suspenders are now one step closer to completion. The next step is to sew on the clips, which will securely attach the suspenders to your pants or trousers. This will be covered in step 5.
Step 5: Sewing the Clips
With the adjusters securely attached to your suspenders, it’s time to move on to the next step: sewing on the clips. These clips will allow you to attach the suspenders to your pants or trousers. Here’s how to sew the clips:
- Positioning: Determine where you want the clips to be attached on each strap of your suspenders. Typically, clips are placed near the front and back, evenly spaced along the length of the straps.
- Marking: Use a fabric pen or chalk to mark the placement of the clips on each strap. Make sure the markings are symmetrical and aligned.
- Opening the clips: Take one clip and open it by gently prying it open with your fingers. Be careful not to apply excessive force, as this may damage the clip.
- Inserting the strap: Insert the end of the strap into the opening of the clip, making sure the teeth grip the fabric securely. Pull the strap through, leaving enough room for adjustment but not excessive fabric.
- Securing the clip: Once the strap is inserted, close the clip by pressing it together until it snaps shut, ensuring the teeth hold the fabric in place securely.
- Repeat the process: Repeat these steps for the other clips, ensuring they are aligned with the markings you made earlier on each strap.
When sewing the clips, you have the option of hand-sewing or using your sewing machine. If hand-sewing, make sure to use small and neat stitches to securely attach the clips to the fabric. If using a sewing machine, adjust your machine to a zigzag or bar tack stitch to ensure durability.
Once the clips are securely attached to your suspenders, you can try them on and test the grip and security of the clips by attaching them to your pants. Make any necessary adjustments or tighten the clips if needed.
With the clips sewn on, your suspenders are almost complete. The next step will cover attaching the clips and adjusters to the fabric straps, bringing all the elements together for fully-functional and stylish suspenders.
Step 6: Attaching the Clips and Adjusters to the Straps
Now that you have sewn the clips and attached the adjusters to your suspenders, it’s time to bring all the elements together. In this step, you will be attaching the clips and adjusters to the fabric straps. Follow the steps below:
- Clip attachment: Take one end of the fabric strap and position it next to the open end of the clip. Ensure that the teeth of the clip are facing towards the fabric strap.
- Sewing the clip: Sew a straight stitch through both layers of fabric, securing the clip in place. Sew several stitches for added strength.
- Repeat for adjusters: Take the other end of the fabric strap and slide it through one of the adjusters. Fold the end of the strap back onto itself to create a loop, leaving enough room for adjustment.
- Sewing the adjuster: Sew a box or rectangular stitch pattern around the looped end of the strap, securing the adjuster in place. Reinforce with additional stitches if necessary.
- Repeat for the other strap: Repeat the previous steps on the other fabric strap, making sure the clips and adjusters are aligned symmetrically on both sides.
As you sew, be sure to sew back and forth a few times at the beginning and end of each stitch line to reinforce the connection and prevent unravelling.
Once the clips and adjusters are securely attached to the fabric straps, your suspenders are nearly complete. Take a moment to adjust the length of the suspenders using the adjusters to ensure a comfortable fit.
Congratulations! You have successfully attached the clips and adjusters to your suspenders. All that’s left now is to add the finishing touches, which will be covered in the next step: step 7.
Step 7: Finishing Touches
Now that you have attached the clips and adjusters to your suspenders, the final step is to add some finishing touches to ensure a polished and professional look. Here are a few additional steps you can take to complete your suspenders:
- Trimming excess threads: Take a moment to carefully trim any loose threads or excess fabric that may be visible on your suspenders. This will give them a clean and neat appearance.
- Reinforcing stitches: Examine the seams and stitches on your suspenders. If necessary, reinforce any weak areas or loose stitches by sewing over them again with a strong and secure stitch.
- Pressing: Use an iron on a low heat setting to press the suspenders, particularly the seams and attachment areas. This will help to flatten the fabric and give it a professional finish.
- Personalization: If desired, consider adding a personalized touch to your suspenders. This could be a small fabric label with your name or initials, or even decorative buttons or patches sewn onto the straps.
- Try them on: With your suspenders complete, try them on with different outfits to see how they look and feel. Make any necessary adjustments to the length or placement of the suspenders for optimal comfort and style.
By attending to these finishing touches, you can ensure that your suspenders are not only functional but also reflect your unique style and personality. Feel free to get creative and make the suspenders truly your own.
Congratulations! You have successfully completed all the steps to make your own suspenders. Now you can confidently wear them with pride and showcase your DIY craftsmanship.
Conclusion
Congratulations! You have successfully learned how to make your own suspenders. This step-by-step guide has walked you through the process of choosing the right fabric, measuring and cutting it, sewing the straps, adding adjusters and clips, and adding those finishing touches that give your suspenders a polished look.
Making your own suspenders not only allows you to customize them to match your personal style, but it also gives you a sense of accomplishment and satisfaction. Whether you’re looking for a stylish accessory for a special occasion or simply want to upgrade your everyday attire, suspenders can add a touch of sophistication and uniqueness to any outfit.
Remember to choose a sturdy fabric that can withstand the tension placed on the suspenders, and ensure that it has a certain level of stretch for a comfortable fit. Take accurate measurements and cut the fabric accordingly to create the perfect length and width for your suspenders.
By sewing the straps, attaching adjusters and clips, and adding those finishing touches, you can create suspenders that are not only functional but also reflect your personal style. Feel free to experiment with different fabrics, colors, and patterns to create suspenders that truly represent your unique taste.
Now that you have the skills and knowledge to make your own suspenders, don’t be afraid to get creative and make multiple pairs for different occasions or as thoughtful gifts for friends and family.
So why wait? Gather your materials, follow the steps outlined in this guide, and start making your own stylish suspenders today. Get ready to elevate your fashion game and make a statement with these fashionable accessories!