
FAQs
How To Make A Book Thong
Modified: August 23, 2023
Looking for answers to general questions about how to make a book thong? Find step-by-step instructions and tips in this helpful guide.
(Many of the links in this article redirect to a specific reviewed product. Your purchase of these products through affiliate links helps to generate commission for Under-tec.com, at no extra cost. Learn more)
Table of Contents
Introduction
Welcome to the wonderful world of book accessories! If you’re a book lover like me, you know that reading isn’t just a hobby; it’s a way of life. And what better way to showcase your love for books than by accessorizing them with a book thong?
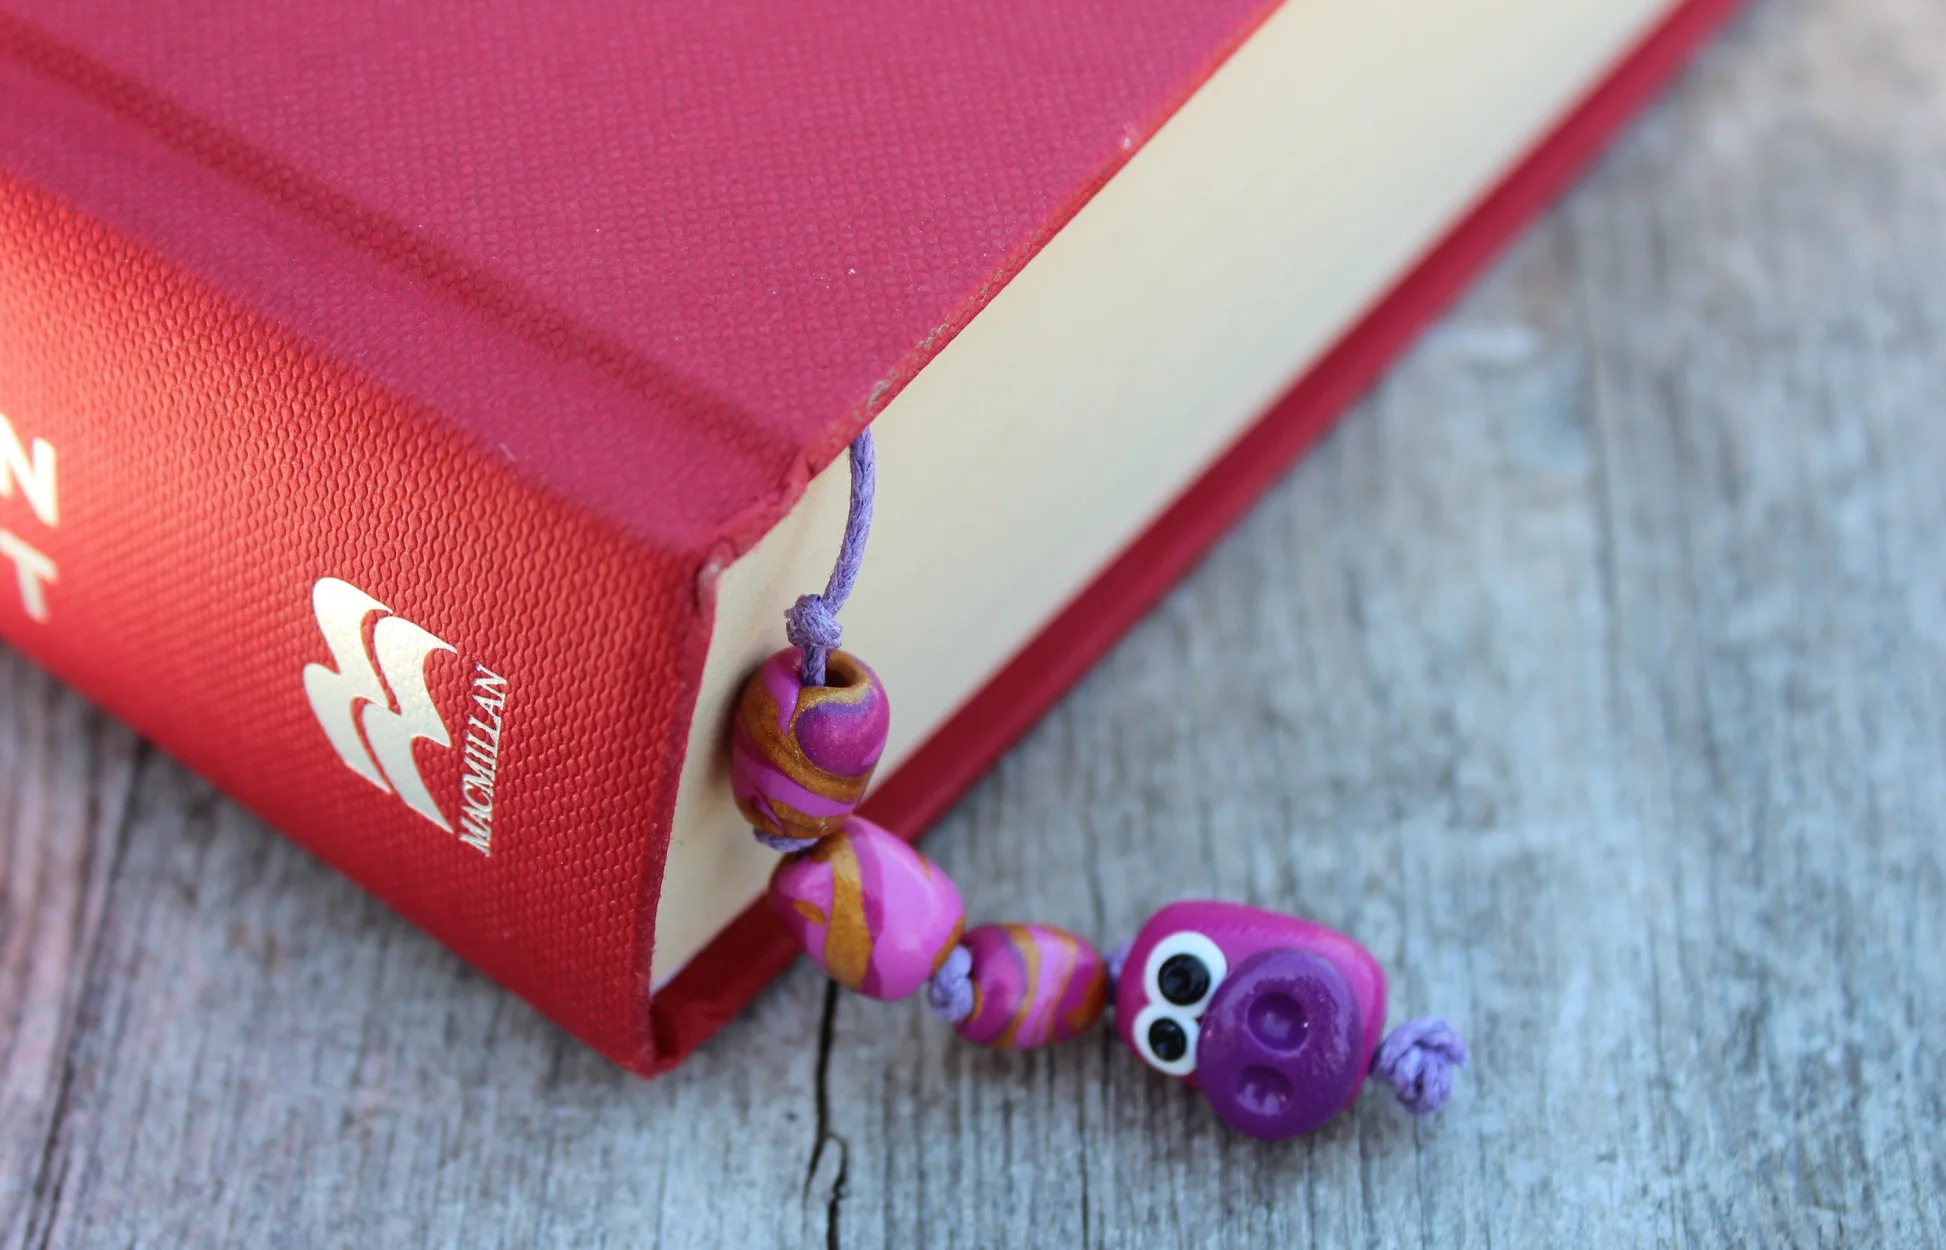
A book thong is a stylish and functional bookmark that will not only keep your place in the book but also add a touch of personality and flair to your reading experience. It’s like a piece of jewelry for your favorite novels! Plus, making a book thong is a fun and creative DIY project that you can complete in just a few simple steps.
In this article, I’ll guide you through the process of making your own book thong. From choosing the right materials to adding the finishing touches, you’ll learn everything you need to know to create a unique and eye-catching bookmark that reflects your personal style.
Whether you’re a seasoned crafter or a beginner DIY enthusiast, this guide is perfect for you. So grab your supplies and let’s get started on this exciting journey of making a book thong!
Materials Needed
Before we dive into the process of making a book thong, let’s gather all the materials you’ll need for this project. The good news is that you don’t require a long list of supplies; most of them can be easily found at your local craft store or even already in your crafting stash. Here’s what you’ll need:
- A length of thin cord or string (satin cord, leather cord, or hemp cord works well)
- Beads of your choice (make sure the beads have a hole large enough to fit your cord through)
- A pair of scissors
- A ruler or tape measure
- A charm (optional, but it adds a lovely touch to your book thong)
That’s it! With just a few simple materials, you’ll be on your way to creating a beautiful and functional book thong.
Now that you have your materials ready, let’s move on to the next step: choosing the right materials for your book thong.
Step 1: Choosing the Right Materials
Choosing the right materials is the first and crucial step in creating your book thong. The type of cord, beads, and charm you select will determine the overall look and feel of your bookmark. Here are a few tips to help you make the right choices:
- Consider the durability: Since a book thong will be constantly used and exposed to wear and tear, it’s important to choose materials that are strong and durable. Opt for a cord that is sturdy and won’t easily fray or break. Leather cord or satin cord are popular choices for their strength and durability.
- Match the cord thickness with the book: The thickness of the cord should be proportional to the size of the book. For larger, heavier books, a thicker cord can provide better support and stability. Conversely, for smaller paperbacks, a thinner cord will work just fine.
- Showcase your personal style: Let your creativity shine through when selecting beads for your book thong. Choose beads that match your personal style and preferences. You can opt for colorful beads, beads with intricate designs, or even gemstone beads for an elegant touch.
- Consider the bead hole size: Ensure that the beads you choose have a hole large enough for your cord to pass through. Test a few beads before committing to a specific style to avoid any frustration or setbacks during the crafting process.
- Add a charm: While optional, adding a charm to your book thong can make it even more special. Choose a charm that represents something meaningful to you, such as a book-related charm, a symbol, or a tiny trinket that resonates with your interests.
Remember, the materials you choose will ultimately reflect your personality and style. So take your time in selecting materials that make your book thong unique and special to you. With the materials ready, we can now move on to measuring the length of the cord.
Step 2: Measuring the Length
Once you have gathered all the necessary materials, it’s time to determine the length of your book thong. The length will depend on the size of your book and how much of the thong you want to dangle from its pages. Here’s how you can measure the length:
- Open your book: Start by opening the book to the desired page where you want the thong to hang.
- Measure the page-to-page distance: Take your ruler or tape measure and place it vertically along the edge of the book pages. Measure the distance between the top edge of your book pages and the desired location of the thong. This will give you an idea of how much length you need to allocate.
- Add extra length: Once you have the page-to-page distance, it’s a good idea to add a few extra inches or centimeters to ensure that the book thong is long enough to comfortably hang outside the book. This will also give you a bit of flexibility when it comes to adjusting the length later on.
It’s important to note that the length of your book thong can vary depending on personal preference. Some people like longer thongs that dangle significantly from the book, while others prefer shorter ones that just peek from the pages. Experiment with different lengths and find what works best for you and your book.
With the length measured, you’re now ready to move on to the fun part – stringing the beads on the cord!
Step 3: Stringing the Beads
Now that you have determined the length of your book thong, it’s time to bring it to life by stringing the beads onto the cord. Follow these simple steps to create a beautiful bead pattern:
- Thread the cord: Take one end of the cord and thread it through the hole of your first bead. Slide the bead to the halfway point of the cord.
- Add more beads: Begin adding more beads by threading them onto the cord, one by one. You can follow a specific pattern, alternate colors, or randomly mix and match the beads according to your preference.
- Continue threading: Keep threading the beads until you have reached the desired length for your book thong. Remember to keep a few inches of cord at the end for creating the loop.
- Secure the beads: Once all the beads are threaded onto the cord, make sure they are secure and snugly positioned. You can gently push them together to eliminate any gaps or spaces between the beads.
Remember to work at a comfortable pace and be mindful of the tension on the cord. Avoid pulling too tightly, as this can cause the cord to snap or fray.
Feel free to get creative with your bead choices and arrangement. Explore different colors, shapes, and sizes to create a unique and eye-catching design. The bead pattern you create will add a personalized touch to your book thong and make it truly one-of-a-kind.
With the beads threaded, it’s time to move on to the next step – creating the loop.
Step 4: Creating the Loop
Creating a loop at one end of your book thong is essential for securely attaching it to your book. This loop will prevent the thong from slipping out and ensure that it stays in place as you turn the pages. Follow these steps to create a sturdy and functional loop:
- Measure the loop size: Take the end of the cord without beads and fold it back to the desired loop size. The loop should be large enough to fit around the spine of your book but not too loose that it slips off easily.
- Secure the loop: Once you have determined the loop size, hold the folded end of the cord and tie a tight knot to create a secure loop. Make sure the knot is tight enough that it won’t come undone during use.
- Trim the excess: After tying the knot, you may have some excess cord remaining. Use a pair of scissors to carefully trim off any excess, leaving a small tail of cord. Be cautious not to cut the loop or the rest of the book thong.
It’s important to ensure that the loop is secure and tightly tied, as it will endure frequent book openings and closings. Double-check the loop’s strength by gently tugging on it before moving on to the next step.
Congratulations! You have successfully created the loop for your book thong. Now, we can move on to an optional step of adding a charm for that extra touch of personalization.
Step 5: Adding the Charm (Optional)
If you want to add an extra decorative element to your book thong, consider attaching a charm. A charm can represent something meaningful to you or simply add a touch of whimsy to your bookmark. Follow these steps to add a charm to your book thong:
- Select your charm: Choose a charm that reflects your personal style or interests. It can be a tiny book charm, a symbol that holds significance for you, or any small trinket that you find appealing.
- Prepare the charm attachment: If your charm has a jump ring or a small loop, you can easily attach it to the end of your book thong. If not, you can use a small piece of cord or a jump ring to attach the charm securely.
- Attach the charm: Open the jump ring or loop of the charm, slide it over the loop end of your book thong, and then close the jump ring or loop tightly with pliers. Ensure that the charm is securely attached so that it doesn’t come loose during use.
Adding a charm is a fantastic way to personalize your book thong and make it truly unique. It can be a reflection of your personality, a reminder of a special moment, or simply a delightful embellishment.
With the charm added, your book thong is nearly complete. Now, all that’s left is to add some finishing touches before you can start using it in your favorite books.
Step 6: Finishing Touches
You’re almost done with creating your very own book thong! Now, it’s time to add some finishing touches to ensure that it looks polished and ready to be used. Follow these steps for the final touches:
- Trim the tails: Take a closer look at both ends of your book thong. If you have any excess cord sticking out past the beads or loop, use a pair of scissors to carefully trim them. Be cautious not to cut too close to the beads or loop to avoid any unintended damage.
- Check the strength: Give your book thong a gentle tug to test the strength and durability of the cord, beads, and the knot. Make any necessary adjustments or reinforce any loose parts to ensure that your bookmark will withstand regular use.
- Give it a test run: Open your book to a desired page, slip the loop end of the book thong over the spine, and let the beaded part dangle beautifully in the book. Make sure the thong is secure and doesn’t slip out when you handle the book. Adjust the length or position if needed for the best fit.
Once you’re satisfied with the final appearance and functionality of your book thong, congratulations! You have successfully created a unique and stylish bookmark to accompany your reading adventures.
Remember, you can always make multiple book thongs using different colors, patterns, and charms to match your mood or different books in your collection. Feel free to experiment, get creative, and explore various bead combinations and designs to bring your book thong collection to life!
Enjoy using your handmade book thong as you dive into the pages of your favorite books. Happy reading!
Conclusion
Congratulations on completing your journey in creating a beautiful and functional book thong! With just a few simple steps, you have transformed ordinary materials into a personalized bookmark that adds a touch of charm to your reading experience.
By choosing the right materials, measuring the length, stringing the beads, creating a loop, adding a charm (optional), and applying the finishing touches, you have crafted a unique book accessory that reflects your personal style and showcases your love for literature.
Not only does a book thong keep your place in a book, but it also adds a decorative element that sets it apart from traditional bookmarks. Whether you’re an avid reader, a book collector, or a thoughtful gift-giver, a book thong is a delightful addition to your literary world.
Feel free to experiment with different cord colors, bead patterns, and charms to create a collection of book thongs that suit your various books and moods. Let your creativity flow as you explore new designs and styles – the possibilities are endless!
Now it’s time to grab your favorite book, slip your newly crafted book thong over the spine, and dive into the pages of adventure, knowledge, and imagination. Enjoy the convenience, style, and personal touch that your handmade book thong brings to your reading sessions.
Happy reading!

