Home>How-to Guides>For Women>How To Make A Swimsuit Pattern
For Women
How To Make A Swimsuit Pattern
Modified: August 5, 2023
Learn how to create your own swimsuit pattern for women with this step-by-step guide. Make a stylish and flattering swimsuit that fits perfectly.
(Many of the links in this article redirect to a specific reviewed product. Your purchase of these products through affiliate links helps to generate commission for Under-tec.com, at no extra cost. Learn more)
Table of Contents
Introduction
Welcome to the world of DIY fashion! Making your own swimsuit pattern can be a fun and rewarding project, allowing you to create a custom-fit swimsuit that is both flattering and comfortable. Whether you are a beginner or an experienced sewist, designing your own swimsuit pattern gives you the freedom to choose the style, fabric, and embellishments that suit your personal taste.
In this article, we will guide you through the step-by-step process of making a swimsuit pattern from scratch. From taking accurate measurements to sewing the final product, we have got you covered. So grab your measuring tape, dust off your sewing machine, and let’s dive in!
Before we begin, it’s important to note that making a swimsuit pattern requires some basic sewing skills. If you are a beginner, we recommend starting with a simpler pattern to familiarize yourself with the techniques involved. As you gain confidence and experience, you can move on to more complex designs.
Now, let’s gather our materials and get ready to create your very own swimsuit pattern!
Materials Needed
Before you begin, gather the following materials to make your swimsuit pattern:
- Stretch swimwear fabric: Look for a fabric specifically designed for swimwear, such as nylon spandex or polyester spandex blend. Choose a fabric with a good amount of stretch and recovery, as well as chlorine and UV resistance.
- Lining fabric: To add stability and opacity to your swimsuit, you will need a lining fabric. Nylon tricot or swimwear lining fabric works well for this purpose.
- Elastic: Select elastic with good stretch and recovery, specifically designed for swimwear. You will need elastic for the leg openings, waistband, and possibly the neckline or shoulder straps.
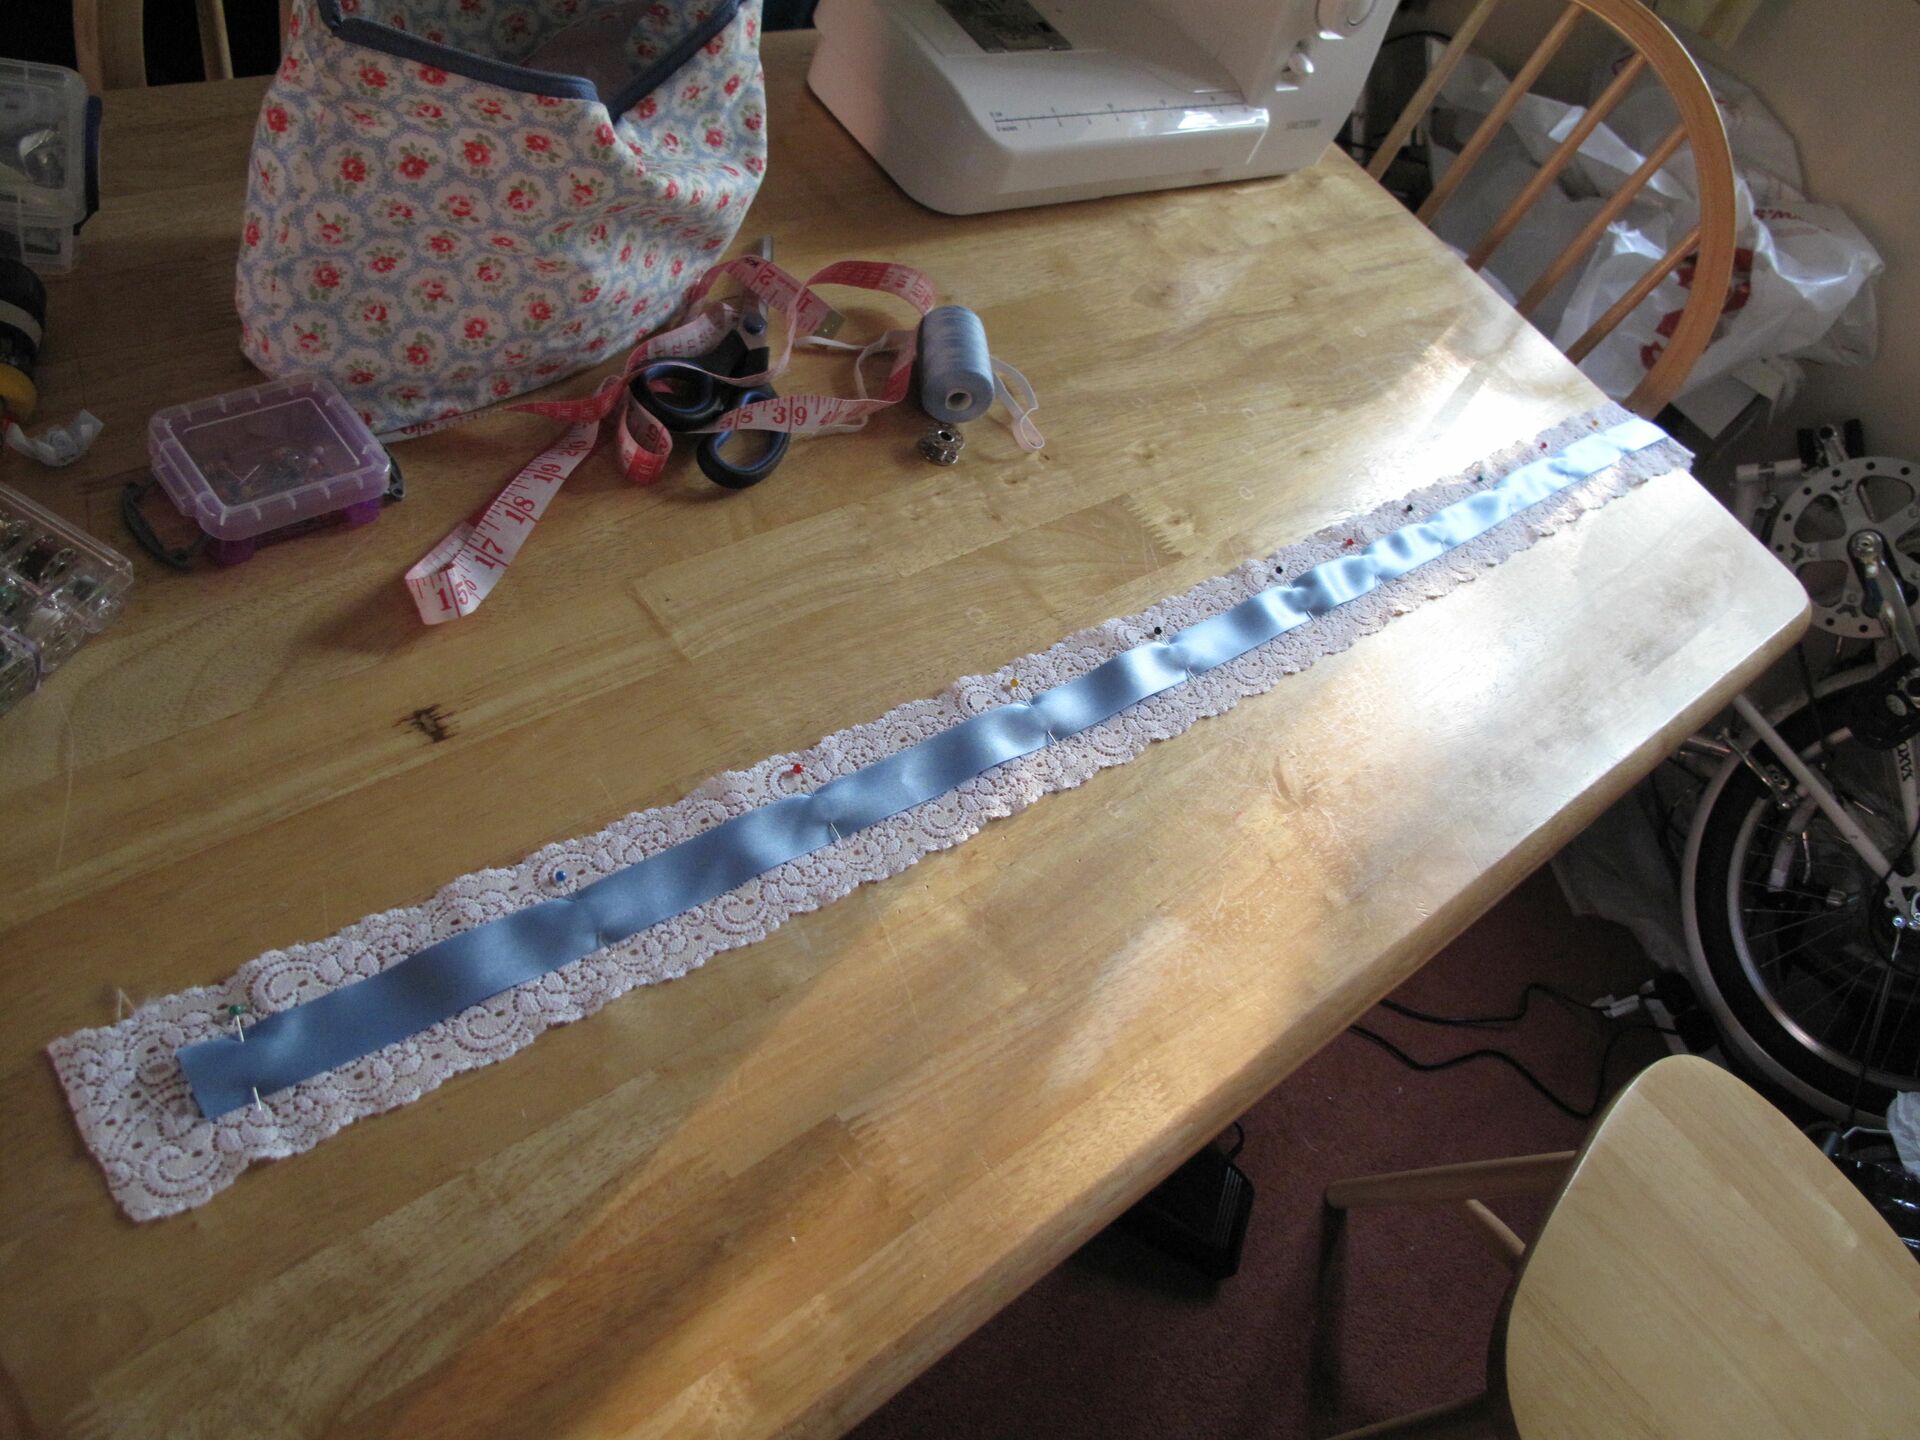
- Swimsuit pattern paper or large sheets of tracing paper: This will be used to draft and create your custom swimsuit pattern.
- Measuring tape: Accurate measurements are crucial when creating a swimsuit pattern. Make sure to have a flexible measuring tape on hand.
- Pins: Pins will help you secure the pattern pieces and the fabric during the cutting and sewing process.
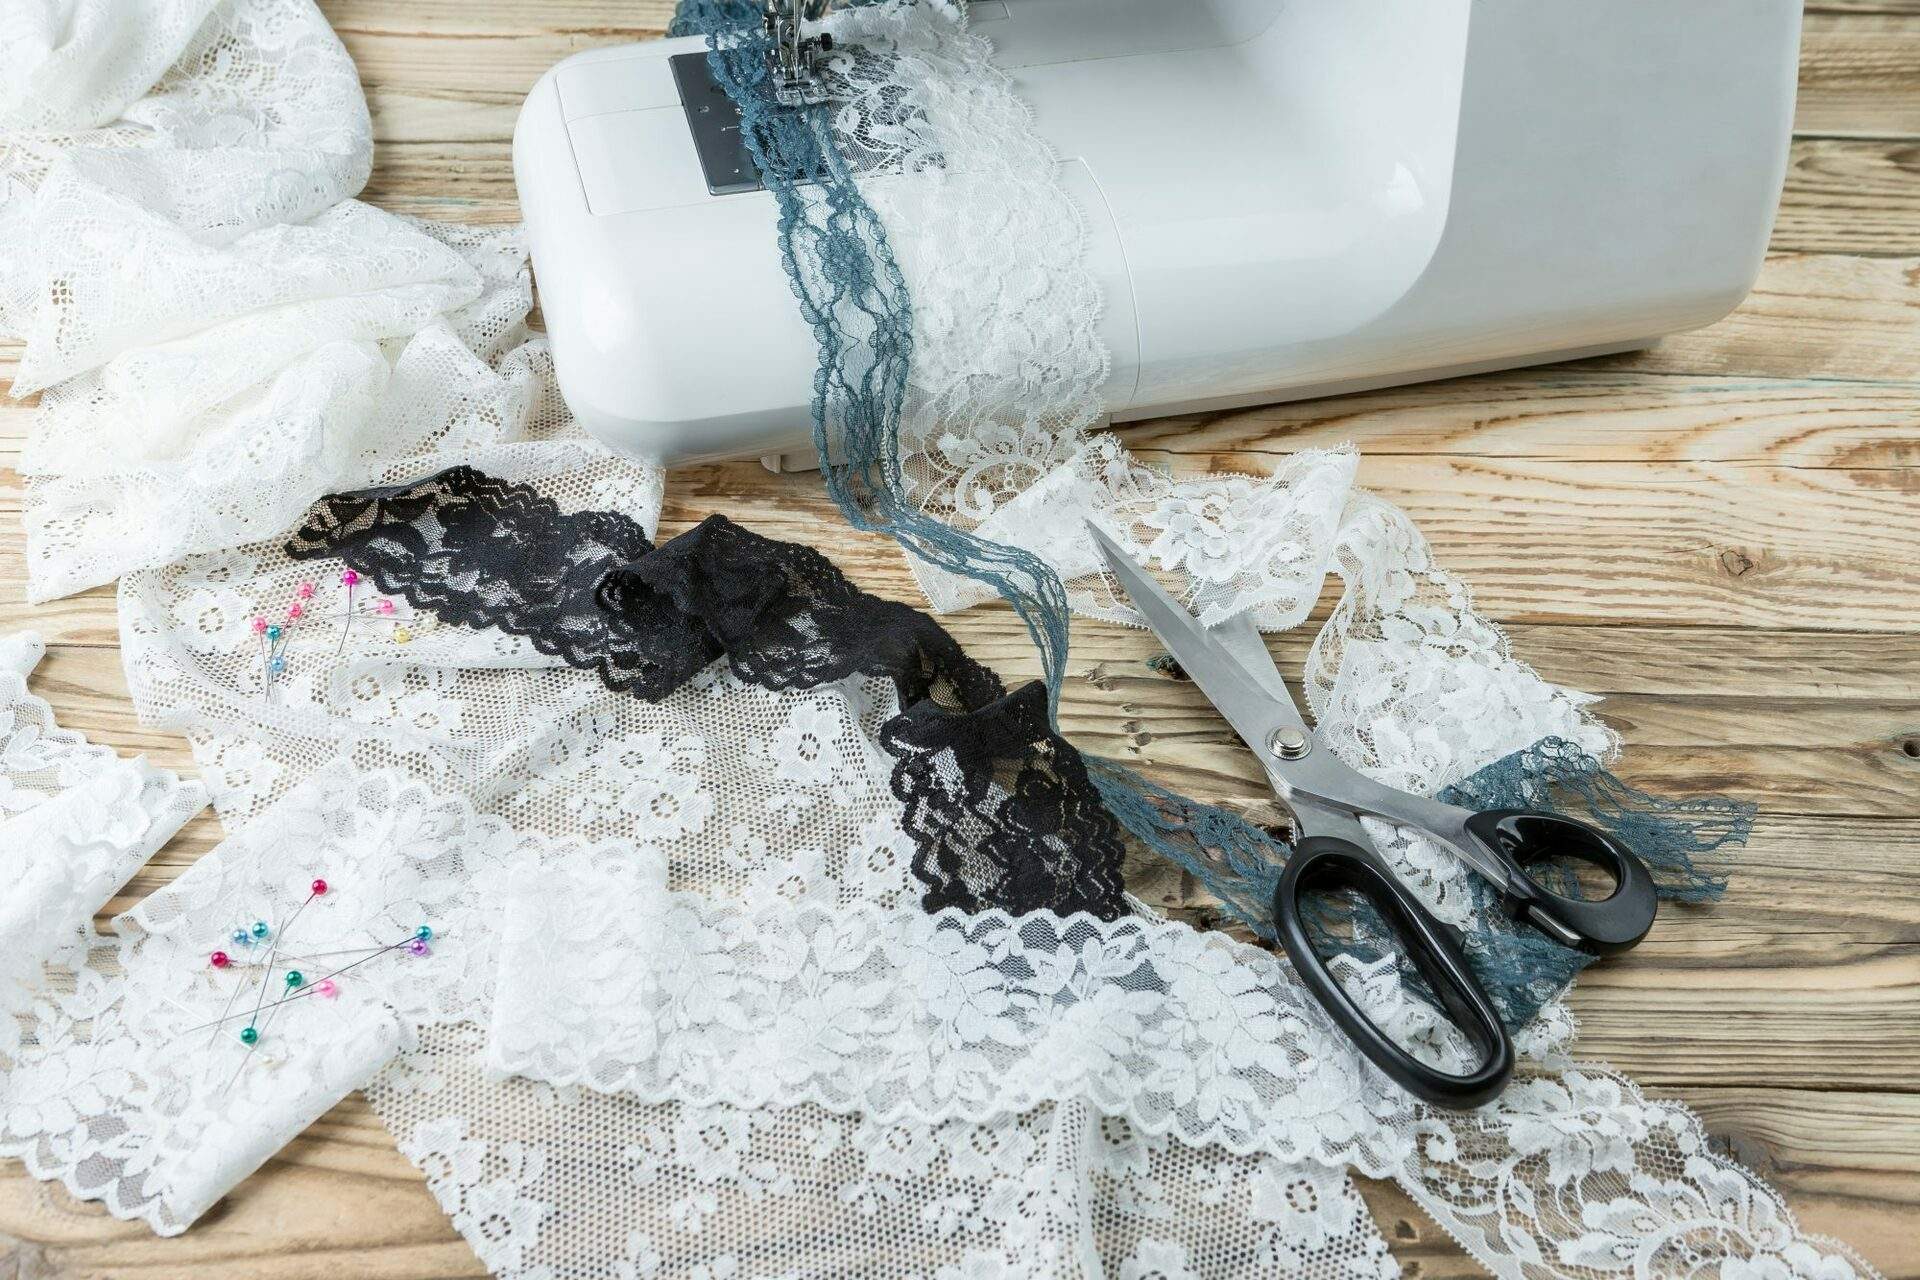
- Fabric scissors or rotary cutter: Use sharp fabric scissors or a rotary cutter with a cutting mat to cut the fabric accurately.
- Sewing machine: A sewing machine with a zigzag stitch function is essential for sewing stretch fabrics. If you don’t have one, you can use a serger or opt for a stretch stitch on a regular sewing machine.
- Thread: Choose thread that matches the color of your fabric or opt for a contrasting color for decorative stitching.
- Optional: Embellishments such as buttons, beads, or sequins to personalize your swimsuit.
Now that you have gathered all the necessary materials, let’s move on to the next step: taking accurate measurements.
Taking Accurate Measurements
Before you begin drafting your swimsuit pattern, it is crucial to take accurate measurements of your body. This will ensure a custom-fit swimsuit that flatters your shape. Follow these steps to measure yourself correctly:
- Bust: Wrap the measuring tape around the fullest part of your bust, ensuring it is straight and parallel to the floor.
- Underbust: Measure the circumference directly under your bust, where the band of your bra would sit.
- Waist: Locate your natural waistline, typically the narrowest part of your torso. Measure around this area, without pulling the tape too tight or too loose.
- Hip: Measure around the fullest part of your hips, ensuring the tape is parallel to the floor.
- Torso Length: Start measuring from the highest point of your shoulder, down the front of your body, between your legs, and up to the back of your shoulder. This will give you your torso length.
- Leg Opening: Measure the circumference around your thigh, where you want the leg openings of your swimsuit to hit.
- Additional measurements: Depending on the style of your swimsuit, you may need to measure other areas such as the upper bust, full bust, or shoulder width. Refer to your chosen pattern or design for specific measurement guidelines.
Remember to take accurate measurements while wearing the undergarments you intend to wear with your swimsuit. Keep the measuring tape snug, but not too tight, to ensure precision. It can also be helpful to have someone assist you in taking certain measurements to ensure accuracy.
Once you have your measurements, you can use them as a basis for drafting the bodice and bottoms of your swimsuit pattern. In the next sections, we will guide you through the process of creating each piece.
Now that you have your measurements, let’s move on to the exciting part: drafting the bodice of your swimsuit!
Drafting the Bodice
Now that you have taken accurate measurements, it’s time to draft the bodice of your swimsuit pattern. The bodice is the top part of the swimsuit that covers the bust. Here’s how to create it:
- Start with a large sheet of swimsuit pattern paper. If you don’t have pattern paper, you can use large sheets of tracing paper or even parchment paper.
- Draw a straight horizontal line across the top of the paper. This will serve as the neckline of your swimsuit bodice.
- Measure and mark the distance between your armpit and desired bust line. This will determine how high or low the bodice sits on your bust.
- From this mark, draw a curved line down towards the center of the paper. This will form the shape of the side seam of the bodice.
- Next, measure and mark the distance between your armpit and waistline. This will determine the length of the bodice.
- From the waistline mark, draw a slightly curved line that meets the side seam of the bodice. This will create the bottom edge of the bodice.
- To create the bust shaping, measure and mark the distance between the center of your bust and the desired position of your bust apex.
- From this mark, draw a gentle curve towards the side seam of the bodice. This will give your swimsuit a flattering shape and support.
Once you have drafted the basic shape of the bodice, you can refine it by adding seam allowances. Typically, a 1/4 inch to 1/2 inch seam allowance is sufficient for swimsuit patterns.
Remember, you can customize the style of the bodice by adding features like ruching, cut-outs, or a halter neck. Get creative and make it truly your own!
Now that the bodice is drafted, let’s move on to creating the bottoms of your swimsuit pattern.
Drafting the Bottoms
Now that you have the bodice of your swimsuit pattern drafted, it’s time to move on to the bottoms. The bottoms are the lower part of the swimsuit that cover your hips and bottom. Here’s how to create them:
- Using a fresh sheet of swimsuit pattern paper, start by drawing a straight horizontal line across the top. This line will serve as the waistline of your swimsuit bottoms.
- Measure and mark the distance between your waistline and desired hip level. This will determine where the bottoms sit on your hips.
- From this mark, draw a curved line downwards. This will form the shape of the side seam of the bottoms.
- Next, measure and mark the distance between your desired hip level and the top of your thigh. This will determine the length of the bottoms.
- From the mark, draw a curved line that connects to the side seam of the bottoms. This will create the leg opening.
- To create a flattering fit, you can add slightly more curve to the back side seam than the front side seam.
Just like with the bodice, you can add seam allowances to the bottom pattern. Remember to measure and be mindful of the stretch of your fabric when adding the seam allowances.
If you prefer a different style of bottoms, such as high-waisted or bikini style, you can adjust the pattern accordingly. Get creative and make the bottoms exactly how you want them!
With the bodice and bottoms patterns drafted, you are ready to move on to the next step: adding seam allowance.
Adding Seam Allowance
Adding seam allowance is a crucial step in creating your swimsuit pattern. Seam allowance ensures that you have enough fabric to sew the pieces together and gives room for adjustments if needed. Here’s how to add seam allowance to your pattern:
- Using a ruler or a curved ruler, measure and mark the desired seam allowance around the edges of your bodice and bottoms patterns. A common seam allowance for swimwear is 1/4 inch to 1/2 inch.
- Make sure to add seam allowance to all sides of the pattern pieces, including the neckline, armhole, waistline, side seams, and leg openings.
- For curved areas, such as the bust or leg openings, you can use a smaller seam allowance or clip into the allowance to help the fabric lay flat when sewing.
- Double-check your measurements and ensure that the seam allowance you added will accommodate the stretch of your fabric.
- Write the seam allowance measurement on the pattern to avoid confusion during the cutting and sewing process.
Adding seam allowance to your pattern will give you the necessary fabric to sew your swimsuit pieces together. It’s always better to have a little extra fabric than not enough!
Now that you have added seam allowance to your pattern, it’s time to move on to the next step: cutting the fabric.
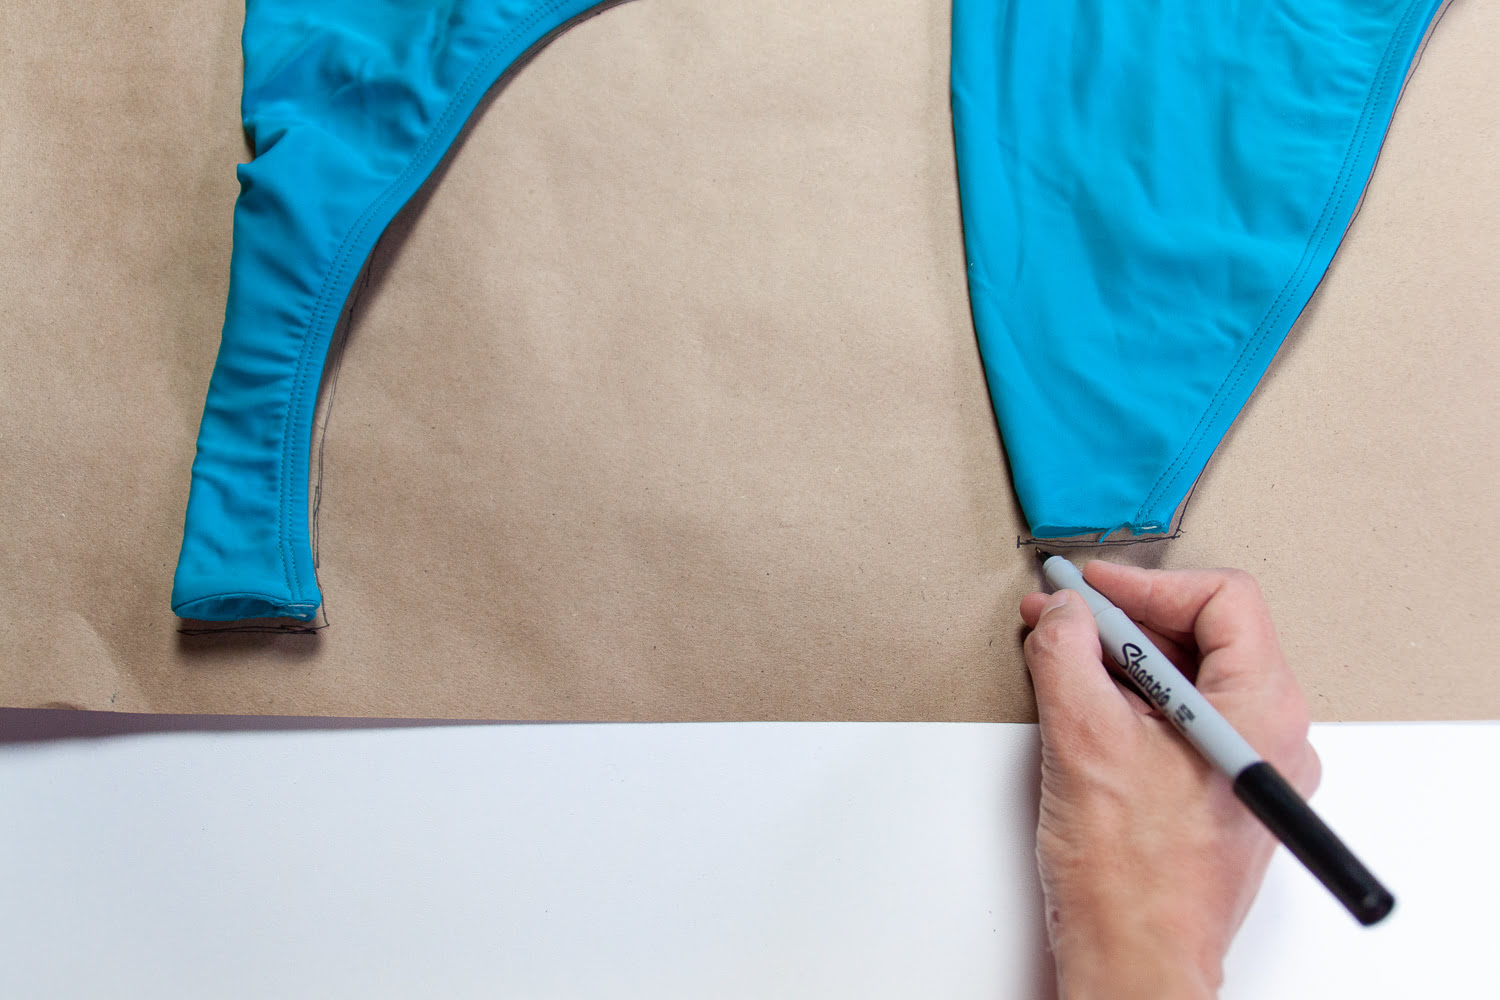
Cutting the Fabric
With your swimsuit pattern drafted and seam allowances added, it’s time to cut the fabric. Proper cutting is essential to ensure accurate and clean edges for your swimsuit. Follow these steps for cutting the fabric:
- Place your chosen fabric on a clean and flat surface, with the right side facing up. Smooth out any wrinkles or folds.
- Position the pattern pieces on the fabric according to the grainline and any directional prints or patterns.
- Secure the pattern pieces to the fabric with pins, pattern weights, or fabric weights, ensuring that they don’t shift during cutting.
- Using fabric scissors or a rotary cutter, carefully cut along the edges of the pattern pieces, following the lines you drew earlier.
- Take your time and make precise cuts to ensure clean and accurate edges.
- If you have multiple layers of fabric, such as when cutting lining fabric, be cautious to cut through all layers simultaneously.
- Once you have cut out the main fabric pieces, repeat the process to cut the corresponding lining fabric pieces.
Remember to transfer any pattern markings or notches onto the fabric pieces as needed. These markings will help you with alignment and construction during the sewing process.
After cutting the fabric, check that you have all the necessary pieces for your swimsuit, including the bodice, bottoms, and any additional components such as straps or halter neck pieces.
Now that you have the fabric pieces ready, it’s time to move on to the fun part: sewing your swimsuit!
Sewing the Bodice
Now that you have your fabric pieces cut and ready, it’s time to start sewing your swimsuit bodice. Follow these steps to sew the bodice:
- Refer to the instructions provided with your swimsuit pattern for specific sewing techniques and guidance.
- Pin the bodice pieces together with the right sides facing each other, aligning the edges and matching any notches or markings.
- Using a stretch stitch or a narrow zigzag stitch, sew along the pinned edges, securing the fabric pieces together. Remember to backstitch at the beginning and end of each seam to ensure durability.
- If your pattern includes bust cups, follow the provided instructions to insert and secure them in place within the bodice for added support and shaping.
- Try on the partially sewn bodice to check the fit. Make any necessary adjustments, such as taking in the side seams or adjusting the strap length, before continuing.
- Once you are satisfied with the fit, finish the seams by either trimming, serging, or using a zigzag stitch to prevent fraying. Alternatively, you can use a seam allowance tape for a clean finish.
- Press the sewn bodice with a warm iron, taking care not to overheat the fabric if it is sensitive to high temperatures.
Keep in mind that different swimsuit styles may have varied construction methods. Follow the pattern instructions and adapt as needed to achieve the desired result.
With the bodice sewn, you are one step closer to completing your beautiful handmade swimsuit. Let’s move on to sewing the bottoms.
Sewing the Bottoms
With the bodice complete, it’s time to sew the bottoms of your swimsuit. Follow these steps to sew the bottoms:
- Refer to the instructions provided with your swimsuit pattern for specific sewing techniques and guidance.
- Pin the bottom pieces together with the right sides facing each other, aligning the edges and matching any notches or markings.
- Using a stretch stitch or a narrow zigzag stitch, sew along the pinned edges, securing the fabric pieces together. Backstitch at the beginning and end of each seam for added durability.
- When sewing the leg openings, ensure that the elastic is properly stretched and sewn within the seam allowance to create a snug but comfortable fit.
- After sewing the seams, trim, serge, or use a zigzag stitch to finish the edges and prevent fraying. Using a seam allowance tape is another option for a clean finish.
- Try on the partially sewn bottoms to check the fit. Make any necessary adjustments, such as taking in the side seams or adjusting the leg openings, before continuing.
- Press the sewn bottoms with a warm iron, taking care not to damage the fabric if it is sensitive to heat.
Remember to follow the pattern instructions and adapt as needed for your desired style of swimsuit bottoms. Different patterns may have different construction methods and features, such as waistbands, ruching, or different types of closures.
Once you have completed sewing the bottoms, you are almost ready to wear your handmade swimsuit! The final step is to attach the straps or halter neck, as needed. Let’s move on to that next.
Attaching Straps or Halter Neck
Now that you have sewn together the bodice and bottoms of your swimsuit, it’s time to attach the straps or halter neck. Depending on the style and design of your swimsuit, you may have different options for the straps. Here’s how to attach them:
- Refer to the instructions provided with your swimsuit pattern for specific guidance on strap attachment.
- If your swimsuit has adjustable straps, sew the strap adjusters or rings to the back of the bodice according to the pattern instructions.
- Prepare your straps by folding them in half lengthwise, with right sides together.
- Sew along the long edge of the strap, leaving the short ends open for turning.
- Use a tube turner or a safety pin to turn the straps right side out, and press them flat.
- Attach the straps by inserting the folded end into the strap adjuster or ring, folding over the raw edge, and stitching in place securely.
- If your swimsuit has a halter neck, sew the halter strap or ties to the neckline of the bodice, following the pattern instructions.
- Ensure that the straps are evenly spaced and securely attached, and make any necessary adjustments to the length or placement.
Attaching the straps or halter neck adds functionality and style to your swimsuit. Take your time during this step to ensure a comfortable and secure fit. Once the straps or halter neck are attached, your swimsuit is nearly complete!
The last step is to add any finishing touches or embellishments to make your swimsuit truly unique. Let’s move on to that next.
Finishing Touches
With the construction of your swimsuit complete, it’s time to add those finishing touches that will give it that extra flair and personalization. Here are some ideas for adding those final touches:
- Add decorative topstitching along the edges of the bodice or bottoms. This can be a contrasting color or a decorative stitch to enhance the overall look of the swimsuit.
- Embellish your swimsuit with beads, sequins, or appliques. These can be strategically placed to highlight certain areas or create a unique design.
- Add functional details such as built-in bra cups, underwire, or boning to provide extra support and structure.
- Consider adding ruching, gathering, or pleats to create visual interest and enhance the fit of the swimsuit.
- Add any additional closures or fastenings, such as hooks, snaps, or ties, as required by the pattern or desired design.
- Personalize your swimsuit by choosing a unique fabric pattern or print that reflects your personal style.
- Experiment with different strap styles, such as crisscross or one-shoulder, to add a unique and trendy touch to your swimsuit.
- Ensure all loose threads are trimmed and any unfinished edges are appropriately finished, either with a serger, zigzag stitch, or binding tape.
Remember, the finishing touches are a chance to showcase your creativity and make your swimsuit truly one-of-a-kind. You can follow the pattern instructions or let your imagination run wild to create a swimsuit that reflects your own personal style.
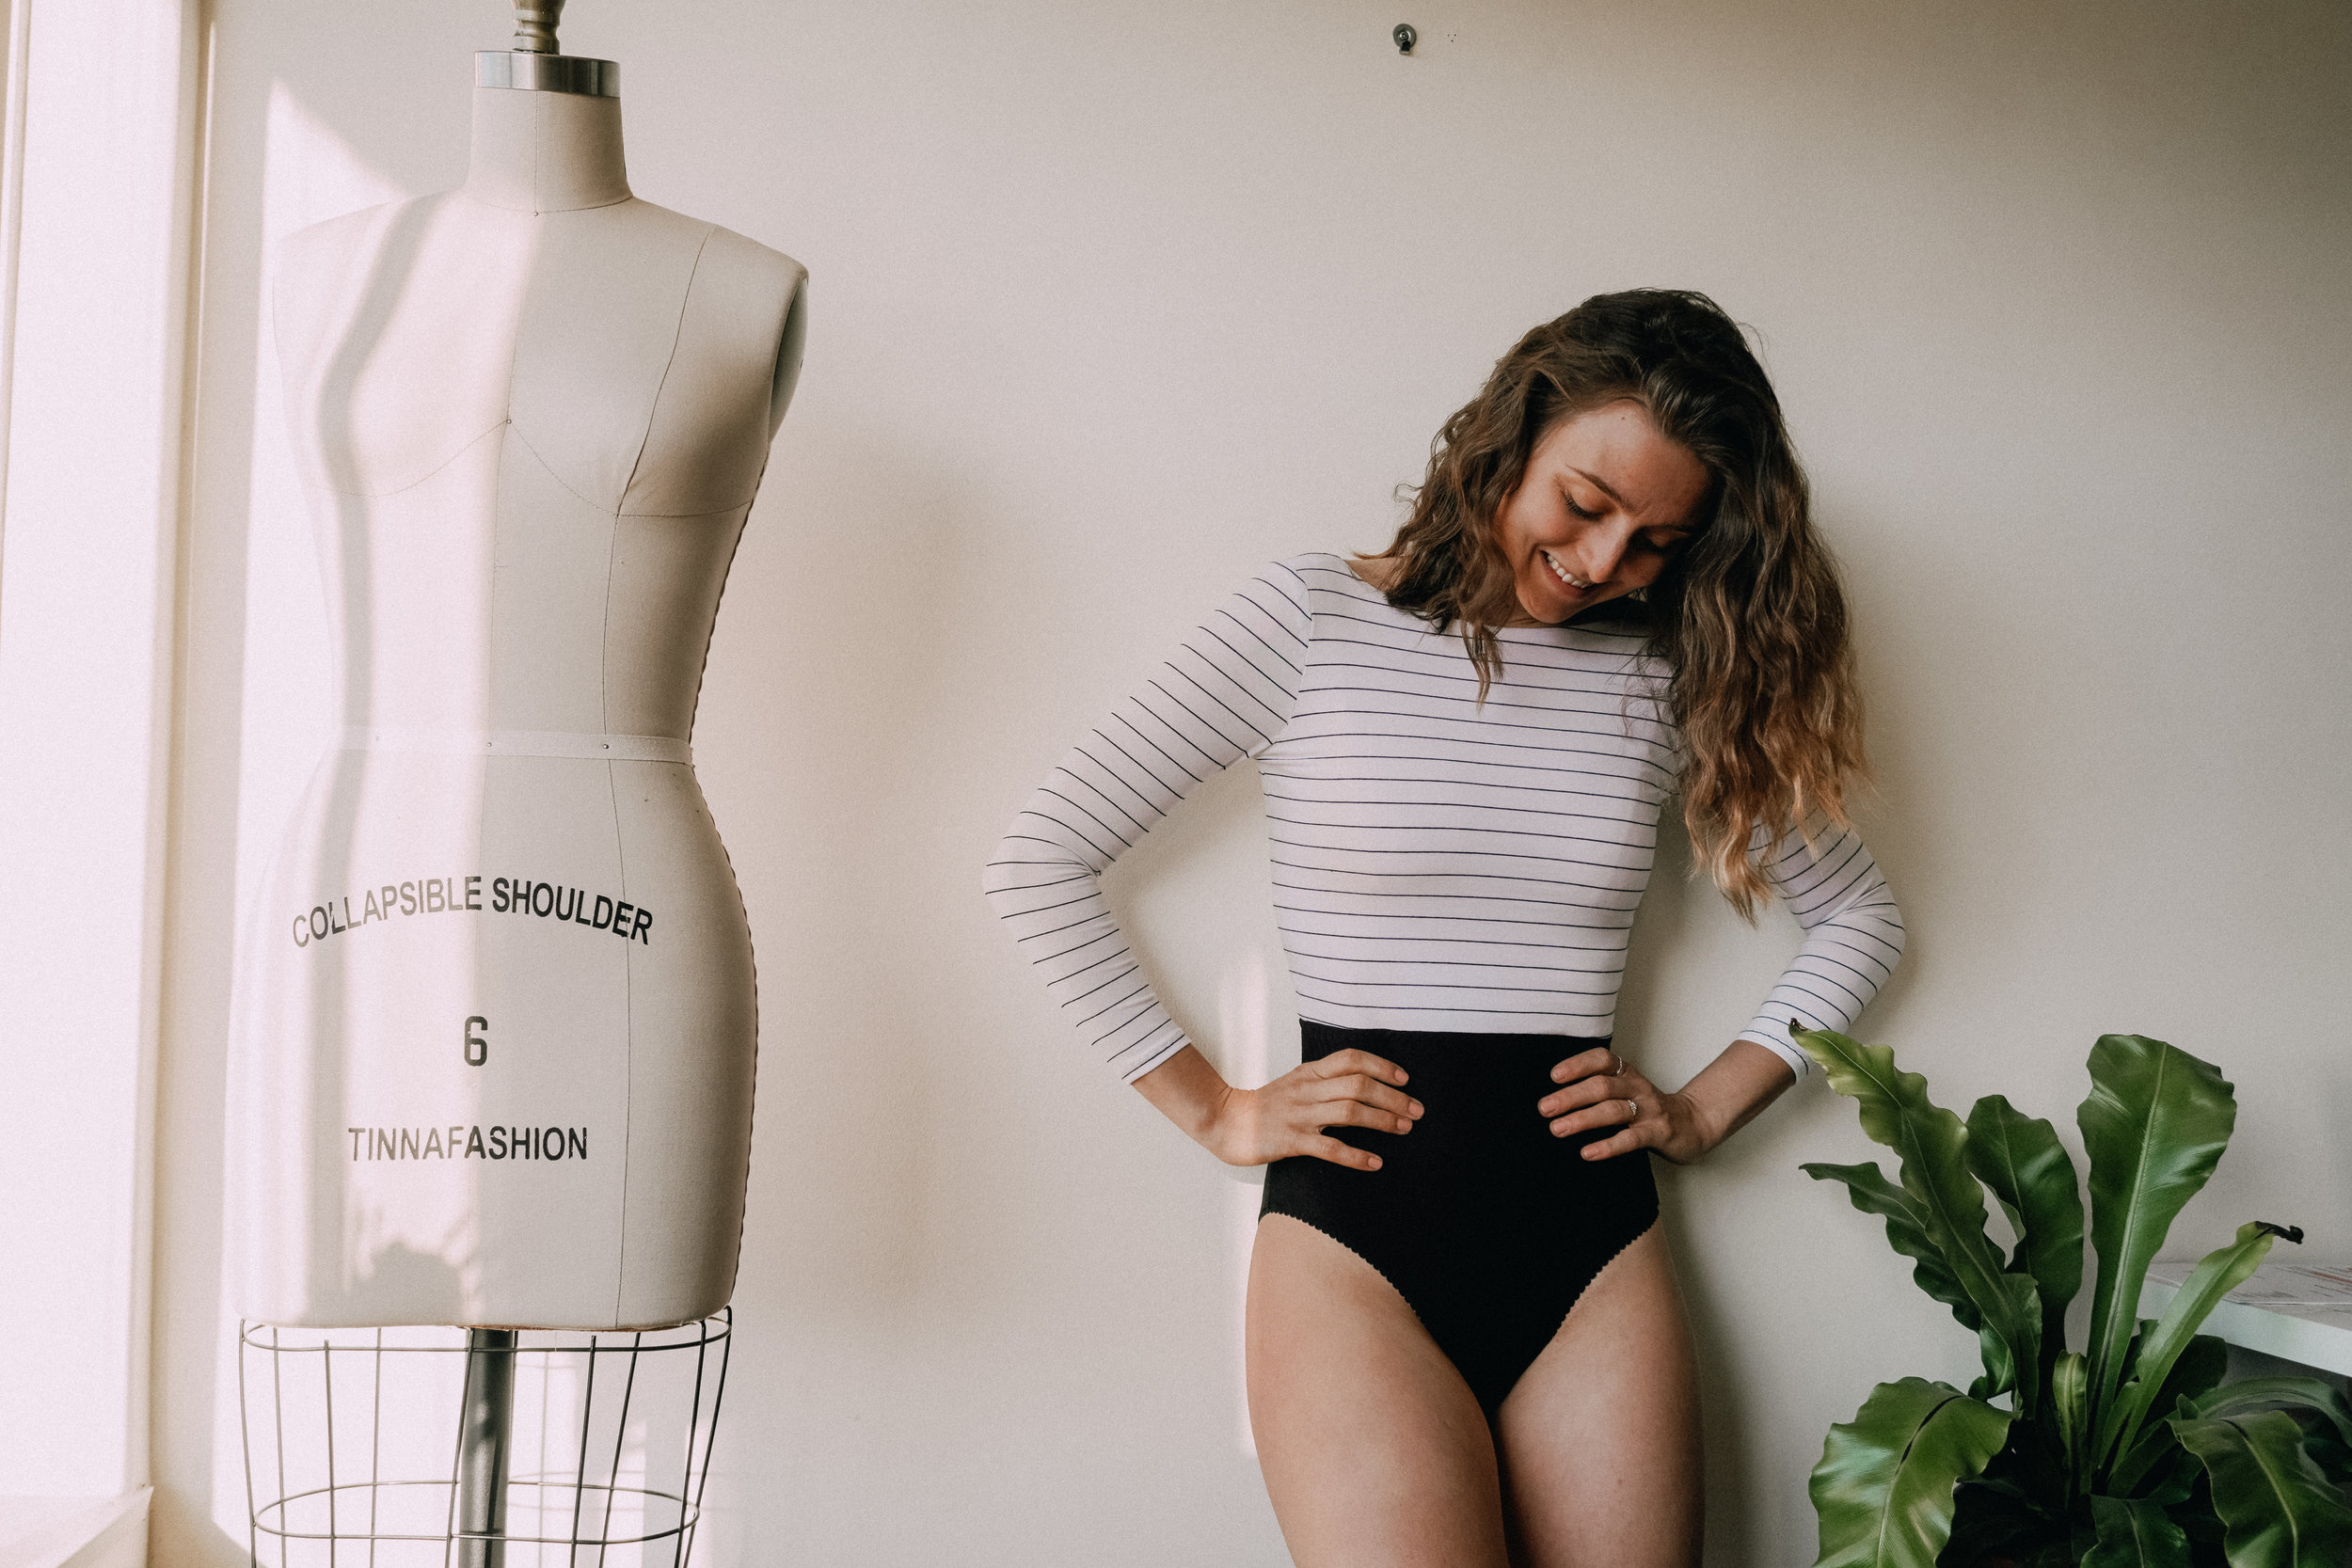
Once you have added those finishing touches, your swimsuit is ready to be enjoyed! Try it on, show it off, and feel confident in your handmade creation.
And there you have it! By following the steps outlined in this article, you have learned how to make your own swimsuit pattern from start to finish. With some practice and creativity, you can now confidently design and sew custom-fitted swimsuits that cater to your individual style and preferences.
Conclusion
Congratulations on completing your journey to create your very own swimsuit pattern! By following the steps outlined in this article, you have learned how to take accurate measurements, draft the bodice and bottoms, add seam allowance, cut the fabric, and sew your swimsuit together. With a little creativity and attention to detail, you have transformed a simple piece of fabric into a personalized and stylish swimsuit.
Remember, practice makes perfect! Don’t be discouraged if your first attempt does not turn out exactly as you envisioned. Sewing swimsuits can be a challenging task, but with time and experience, your skills will improve, and you will become more confident in tackling different styles and designs.
Now that you have the knowledge and skills to create your own swimsuit pattern, the possibilities are endless. Don’t be afraid to experiment with different fabrics, prints, and embellishments to create unique and eye-catching swimwear pieces. Personalize your creations and make them truly your own.
So, grab your sewing machine, your favorite fabric, and get ready to unleash your creativity! Whether you’re hitting the beach, lounging poolside, or simply enjoying the sunshine, your handmade swimsuit is sure to turn heads and make you feel confident and beautiful.
Enjoy the process, embrace the learning, and have fun creating your own swimsuit patterns!