Home>How-to Guides>For All>How To Make Kimono

For All
How To Make Kimono
Modified: September 23, 2023
Learn how to make a kimono that is suitable for all occasions and body types. Step-by-step guide with easy instructions and tips for beginners.
(Many of the links in this article redirect to a specific reviewed product. Your purchase of these products through affiliate links helps to generate commission for Under-tec.com, at no extra cost. Learn more)
Table of Contents
Introduction
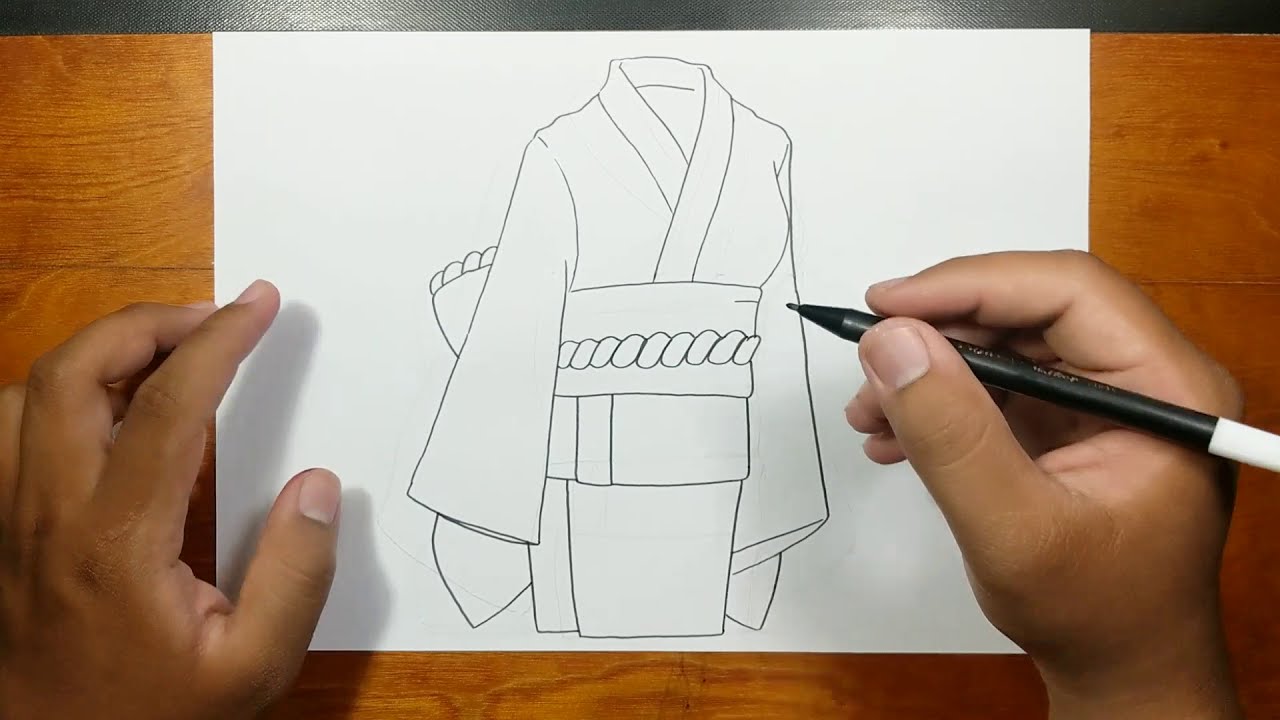
A kimono is a traditional Japanese garment that is renowned for its elegance and timeless appeal. Worn by both men and women, it is often associated with special occasions such as weddings, tea ceremonies, and festivals. The beauty of a kimono lies not only in its intricate design but also in the craftsmanship involved in creating one.
In this article, we will guide you through the process of making a kimono from scratch. Whether you are a sewing enthusiast, a fashion lover, or simply curious about Japanese culture, this step-by-step tutorial will help you create your own unique kimono.
Creating a kimono requires careful consideration of the fabric, measurements, and sewing techniques. But don’t worry, we will break down each step and provide detailed instructions to make the process seamless and enjoyable.
By the end of this guide, you will have the skills and knowledge to create a beautiful kimono that reflects your personal style and celebrates the art of traditional Japanese attire.
So let’s dive in and embark on this exciting journey of making a kimono!
Materials Needed
Before we begin making a kimono, let’s gather all the necessary materials. Having everything on hand will make the process smooth and efficient. Here is a list of the items you will need:
- Fabric: Choose a fabric that is suitable for a kimono, such as silk or cotton. The amount of fabric needed will depend on your measurements and the desired length of the kimono.
- Measuring tape: A measuring tape will be essential for taking accurate measurements of your body.
- Paper or pattern material: You will need large sheets of paper or pattern material to draft the kimono pattern.
- Scissors: Invest in a good pair of fabric scissors to ensure clean and precise cutting.
- Pins: Pins will be used to hold the fabric in place while sewing.
- Thread: Choose a thread color that matches or complements your fabric.
- Sewing machine or needle and thread: Depending on your preference and skill level, you can use a sewing machine or hand sew the kimono.
- Rulers and marking tools: Rulers and marking tools such as tailor’s chalk or fabric markers will help you accurately measure and mark the fabric.
- Iron: An iron is essential for pressing and ironing the fabric during the sewing process.
- Optional embellishments: If desired, you can gather decorative elements such as trims, ribbons, and appliques to add unique touches to your kimono.
Make sure to gather all the materials before starting the kimono-making process. Having everything ready will save you time and allow you to focus on the creative aspect of the project.
Step 1: Choosing the Fabric
When it comes to making a kimono, choosing the right fabric is crucial. The fabric not only determines the overall look and feel of the garment but also influences its longevity and comfort. Traditional kimonos are often made from silk, but you can also opt for other fabrics like cotton or linen for a more casual and affordable option.
Here are some factors to consider when selecting your fabric:
- Weight: Choose a fabric with a suitable weight for the desired style of your kimono. Lighter fabrics like silk chiffon or lightweight cotton are ideal for a summer kimono, while heavier fabrics like brocade or jacquard are perfect for a winter kimono.
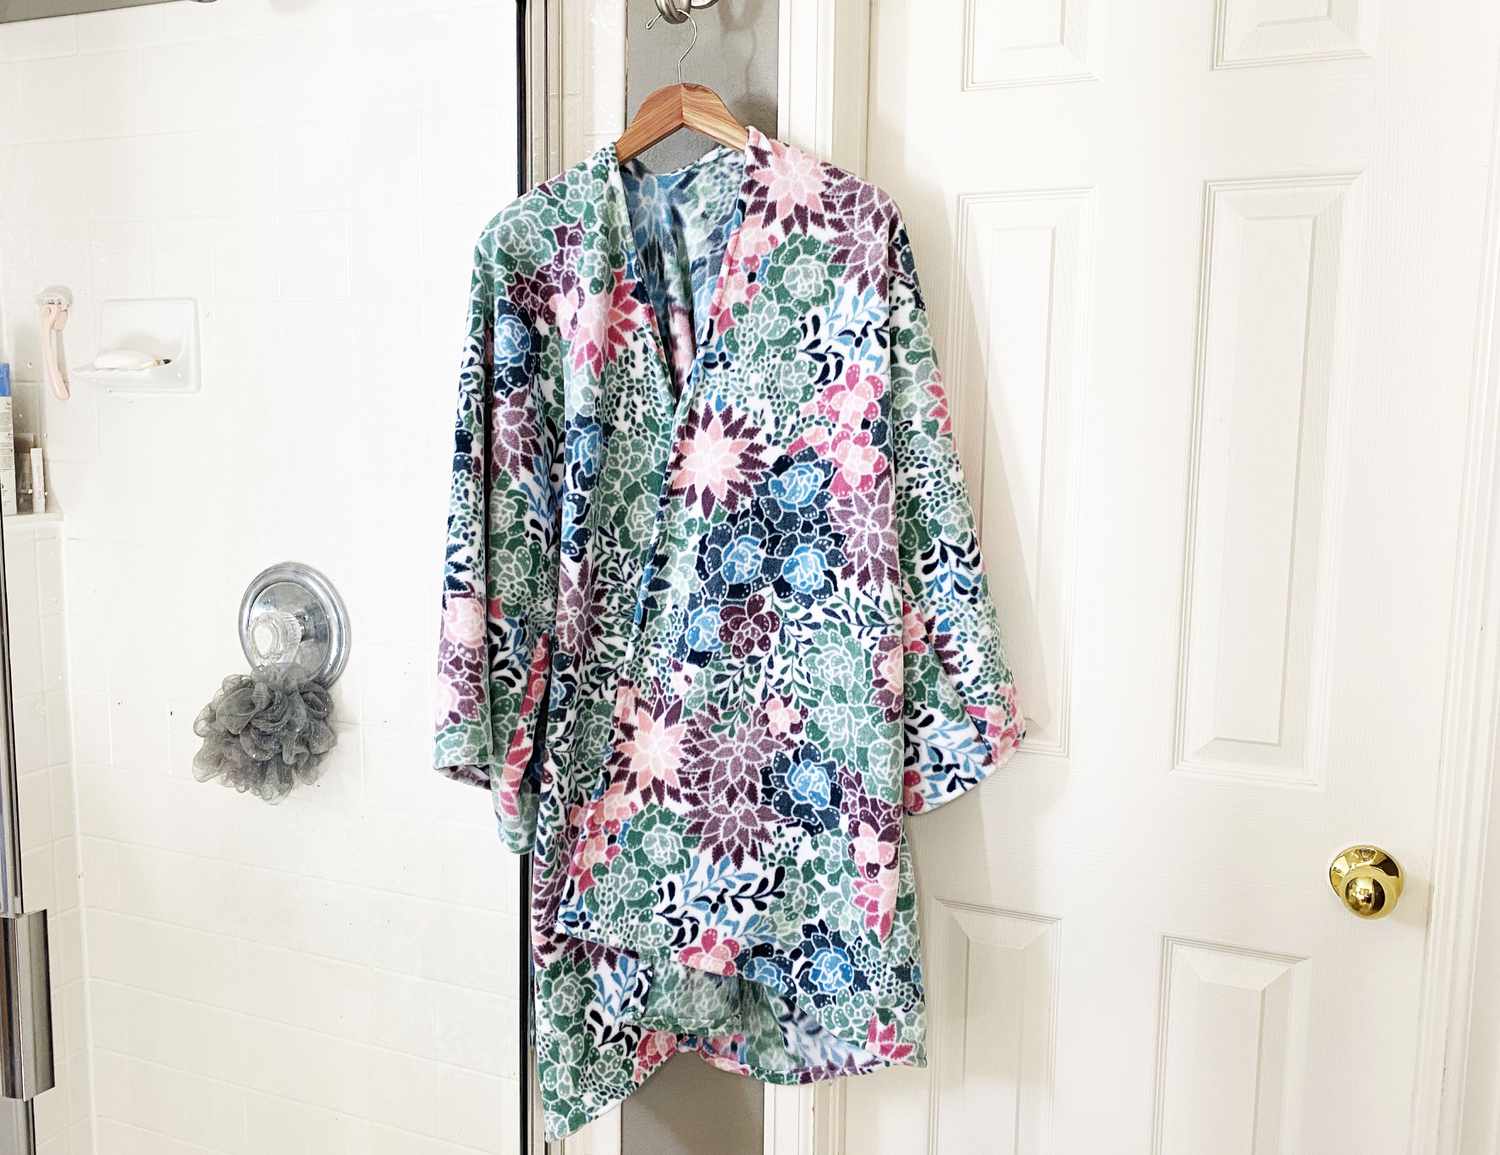
- Pattern and Color: Consider the pattern and color of the fabric. Traditional kimonos often feature intricate patterns and vibrant colors that reflect Japanese culture and aesthetics. However, feel free to choose a fabric with patterns and colors that resonate with your personal style and preferences.
- Texture: Pay attention to the texture of the fabric. Smooth and lustrous fabrics like silk add an elegant touch to the kimono, while textured fabrics like jacquard or crepe can create interesting visual effects.
- Care Instructions: Check the care instructions for the fabric you choose. Some fabrics may require delicate handling or specific cleaning methods.
Before making a final decision, it’s a good idea to purchase fabric samples or swatches to get a sense of the weight, texture, and color in person. This will help you make an informed choice and ensure that you are satisfied with your fabric selection.
Remember, the fabric is the foundation of your kimono, so take your time and choose wisely. It’s worth investing in high-quality fabric that will make your kimono durable and luxurious.
Step 2: Taking Measurements
Accurate measurements are essential when creating a well-fitting kimono. Taking proper measurements ensures that the kimono will have the right proportions and fit comfortably on your body. Here are the key measurements you need to take:
- Bust/Chest: Measure the fullest part of your bust or chest while wearing a well-fitting bra. Make sure the measuring tape is parallel to the ground.
- Waist: Measure the narrowest part of your waist, usually located above the belly button.
- Hips: Measure the fullest part of your hips, typically around the hip bones.
- Back Width: Measure the width of your back by placing the measuring tape across your shoulders, from one shoulder seam to the other.
- Shoulder Width: Measure the distance between the base of your neck, where the shoulder meets the neck, and the outer edge of your shoulder.
- Sleeve Length: Measure the length of your arm from the shoulder to the desired sleeve length. For a traditional kimono, the sleeve usually falls just below the wrist.
- Kimono Length: Decide on the desired length of your kimono. Measure from the base of your neck to the desired hemline.
Make sure to stand straight and relaxed while taking measurements to get the most accurate results. It’s also essential to keep the measuring tape snug but not too tight.
For a more customized fit, you can also take additional measurements such as the neck circumference, arm circumference, and height. These measurements will help you adjust the kimono pattern to your exact proportions.
Take note of the measurements and keep them handy throughout the kimono-making process. Refer to them when drafting the pattern and cutting the fabric to ensure a precise fit.
With the measurements in hand, you are ready to proceed to the next step of creating your own stunning kimono.
Step 3: Drafting the Kimono Pattern
Now that you have your measurements, it’s time to draft the kimono pattern. A well-drafted pattern is the foundation of a perfectly fitting kimono. Here’s how you can create your own kimono pattern:
- Start with a large piece of paper or pattern material. You can use newspaper, craft paper, or even freezer paper taped together to create a pattern large enough to accommodate your measurements.
- Draw a rectangle for the body of the kimono. The width of the rectangle should be half your bust/chest measurement plus ease, and the length should be your desired kimono length.
- From the top corners of the body rectangle, measure and mark the desired shoulder width.
- Next, draw a line down from each shoulder mark to form the sides of the kimono.
- From the bottom corners of the body rectangle, draw lines perpendicular to the sides. The length of these lines should be your desired sleeve length.
- Connect the ends of the lines to create the armholes.
- To create the sleeve shape, measure and mark the desired width of the sleeve at the bottom corners of the body rectangle. Draw lines from these marks to the ends of the armholes.
- Make adjustments to the pattern as needed, such as adding a slit at the bottom for ease of movement or adjusting the width of the sleeve.
Remember to add seam allowances to all edges of the pattern to ensure proper sewing allowances. A 1/2-inch to 1-inch seam allowance is typically sufficient.
Once you have drafted the kimono pattern, cut it out and place it on your fabric. Pin the pattern to the fabric and cut along the edges. Take care to cut precisely to ensure accurate fitting of the kimono.
Keep in mind that this is a basic kimono pattern. Feel free to modify it to suit your style preferences and body shape. Experiment with different sleeve lengths, collar styles, or added embellishments to make the kimono uniquely yours.
With the pattern completed, you are now ready to move on to the exciting step of cutting the fabric for your homemade kimono.
Step 4: Cutting the Fabric
Now that you have your kimono pattern, it’s time to cut the fabric. Properly cutting the fabric is crucial for ensuring accurate construction and a well-fitting kimono. Here’s how you can cut the fabric:
- Prepare your fabric by laying it out on a flat surface. Smooth out any wrinkles or creases.
- Place the kimono pattern on the fabric, making sure to align the grainline of the fabric with the straight edges of the pattern. Pin the pattern securely in place.
- Using fabric scissors, carefully cut along the edges of the pattern. Take your time and use smooth, even strokes to achieve clean cuts.
- When cutting the fabric for the sleeves, be sure to cut two identical pieces, one for each sleeve.
- Pay attention to the placement of any pattern motifs or designs on the fabric. Aligning the designs on the different pieces of the kimono will create a more cohesive and visually pleasing final result.
- For a neater finish, consider finishing the raw edges of the fabric with a serger or a zigzag stitch on a sewing machine. This will help prevent fraying and ensure the longevity of your kimono.
Take your time and make precise cuts to ensure accurate fitting of the kimono. Be careful not to stretch or distort the fabric while cutting, as this can affect the final shape and fit.
Once you have cut all the fabric pieces, remove the pattern and set it aside. You are now ready to move on to the exciting step of sewing the body of the kimono.
Step 5: Sewing the Body of the Kimono
With the fabric pieces cut, it’s time to start sewing the body of the kimono. This step will bring the kimono to life and begin to shape the final garment. Here’s a step-by-step process to help you sew the body of the kimono:
- Start by sewing the shoulder seams. Place the front and back pieces of the kimono right sides together, aligning the shoulder seams. Pin them in place and sew a straight stitch along both shoulder seams, using a 1/2-inch seam allowance.
- Next, sew the side seams. With the kimono still right sides together, align the sides and underarm seams. Pin them and sew a straight stitch from the sleeve to the hemline, using a 1/2-inch seam allowance.
- Press open the shoulder and side seams with an iron to ensure a clean finish.
- To create a more structured look, consider adding interfacing to the collar and front edges of the kimono. This will help the kimono maintain its shape and provide a sturdier finish.
- After adding the interfacing, fold the front edges of the kimono inward by about 1/2 inch and press them with an iron.
- Now it’s time to sew the folded front edges. Sew a straight stitch along the folded edges, securing them in place. You can also add topstitching for a more polished look.
- Finish the bottom hem of the kimono. Fold the raw edge of the hem upward by about 1/2 inch and press it with an iron. Then, fold it up again by the desired hem length and press. Finally, sew a straight stitch along the folded edge to secure the hem in place.
Remember to backstitch at the beginning and end of each seam to ensure the stitches are secure. Take your time and sew with precision to achieve clean and professional-looking seams.
Once you have completed sewing the body of the kimono, try it on and make any necessary adjustments for fit and comfort. With the body sewn, it’s time to move on to the next step – adding the sleeves.
Step 6: Adding the Sleeves
The sleeves are an important component of a kimono, adding elegance and style to the overall design. Adding the sleeves will complete the look of your homemade kimono. Here’s how you can attach the sleeves:
- Start by aligning the top of the sleeve with the shoulder seam of the kimono body. Make sure the right sides of the fabric are facing each other.
- Pin the sleeve in place along the armhole, starting from the top of the sleeve and working your way down to the wrist.
- Sew a straight stitch along the pinned edge, securing the sleeve to the body of the kimono. Use a 1/2-inch seam allowance.
- Repeat the same process for the other sleeve, ensuring it is aligned symmetrically with the first sleeve.
- After sewing the sleeves, press the seams open with an iron to achieve a neat and smooth finish.
- For additional reinforcement and to prevent fraying, finish the raw edges of the sleeve seams with a serger or a zigzag stitch.
Make sure the sleeves are attached securely and the armholes are smooth and comfortable when trying on the kimono. Take the time to adjust the placement of the sleeves to achieve the desired fit and style.
With the sleeves attached, your kimono is taking shape beautifully. The next step is to hem the kimono, ensuring a polished and professional finish.
Step 7: Hemming the Kimono
The hem of the kimono not only adds a finished touch to the garment but also helps maintain its structure and longevity. Hemming the kimono will give it a polished and professional appearance. Follow these steps to hem your kimono:
- Start by folding the raw edge of the kimono hem upward by about 1/2 inch. Press the fold with an iron to create a crisp line.
- Next, fold the hem up again by the desired hem length. This can vary depending on your personal preference or the style of kimono you are creating. Press the fold with an iron to keep it in place.
- Pin the folded hem, securing it in place along the entire hemline of the kimono. This will prevent it from shifting while sewing.
- Using a straight stitch, sew along the folded edge of the hem, ensuring the stitch is close to the folded edge. Sew all the way around the kimono hem, removing the pins as you go.
- Backstitch at the beginning and end of the stitch to secure it in place.
- Inspect the hemline for any loose threads or uneven stitching. Trim any excess thread and make any necessary adjustments.
By hemming the kimono, you are giving it a refined and professional finish. The process of hemming not only enhances the appearance but also adds durability to the garment, making it last longer.
Once you have completed hemming the kimono, take a moment to try it on and admire your work. The finishing touches will transform it into a beautiful and authentic-looking kimono.
Step 8: Adding Finishing Touches
Now that the main construction of the kimono is complete, it’s time to add the finishing touches that will elevate its overall appearance. These final details will give your kimono a unique and personalized touch. Here are some ideas for adding those special finishing touches:
- Embellishments: Consider adding decorative elements such as trims, ribbons, or appliques to enhance the design of your kimono. You can choose options that match the fabric or provide a contrasting accent.
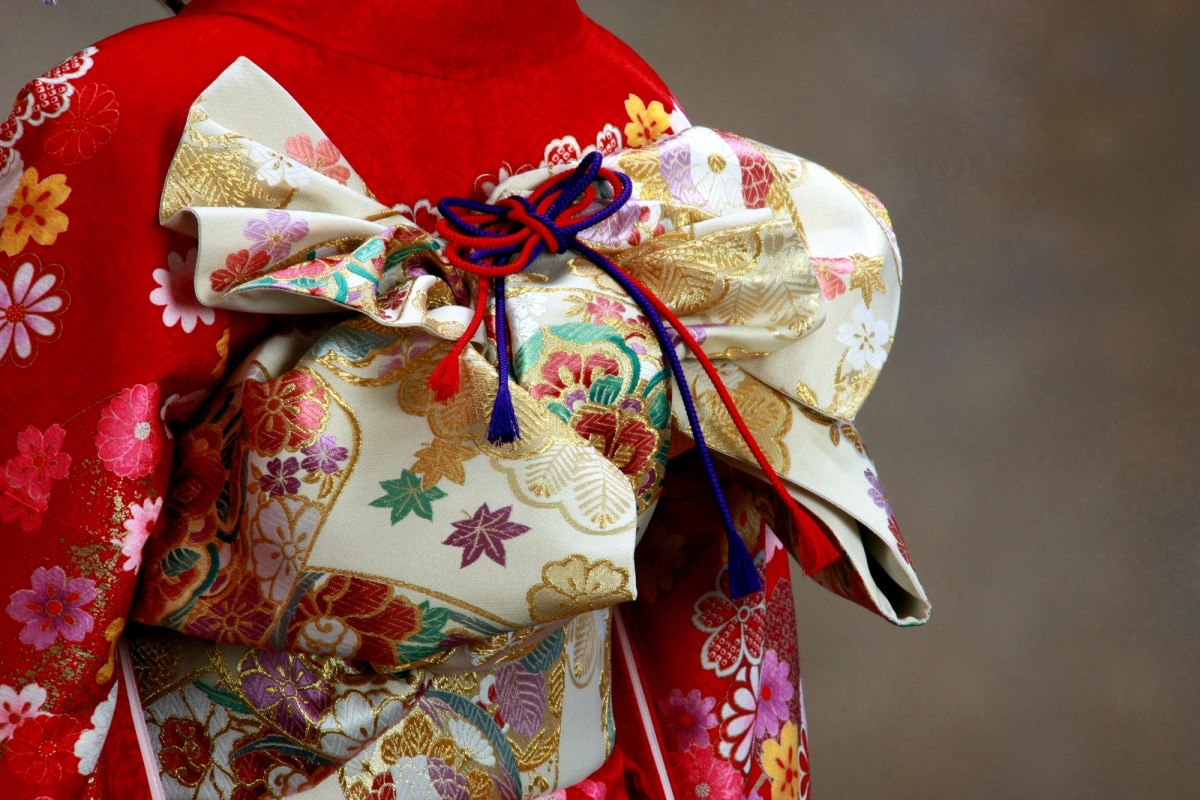
- Obi Belt: Complete the traditional kimono look by creating or purchasing an obi belt – a wide sash that wraps around the waist. The obi belt adds elegance and defines the silhouette of the kimono.
- Button or Tie Closure: If you prefer a more modern or fitted look for your kimono, you can add closures such as buttons or ties to secure the front. Depending on your fabric choice and personal style, you can opt for subtle or decorative closures.
- Lining: If desired, you can add a lining to your kimono for extra comfort and a polished finish. Choose a lightweight fabric that complements the main fabric and sew it to the inside of the kimono.
- Embroidery or Embellished Sleeves: To make your kimono truly unique, consider adding embroidery or embellishments to the sleeves. You can use intricate patterns or designs that reflect your personal taste and style.
- Pressing: After completing all the sewing and adding any additional details, give your kimono a final press with an iron. This will help to smooth out any wrinkles and give it a professional look.
The finishing touches you choose will depend on your individual preferences and the style of kimono you want to create. Be creative and have fun with it, as these details will showcase your personality and make the kimono truly yours.
Once you’ve added the finishing touches, your homemade kimono is complete! Try it on, admire your craftsmanship, and enjoy wearing your one-of-a-kind creation.
Conclusion
Congratulations on successfully creating your very own kimono! Throughout this step-by-step guide, you have learned how to choose the right fabric, take accurate measurements, draft a pattern, cut the fabric, sew the body of the kimono, attach the sleeves, hem the garment, and add those special finishing touches. By following these instructions, you have created a beautiful and unique piece of traditional Japanese attire.
Making a kimono requires patience, attention to detail, and a love for the craft. It is a wonderful way to not only express your creativity but also immerse yourself in the rich cultural heritage of Japan.
Remember, this guide provides a general overview of making a kimono. As you gain more experience and confidence, feel free to experiment with different styles, fabrics, and embellishments to create your own variations.
Now that you have a stunning kimono, consider showcasing it by wearing it on special occasions, cultural events, or even as a fashionable everyday piece. Enjoy the feeling of wearing a handmade garment that reflects your unique style and celebrates the art of the kimono.
So embrace your newfound sewing skills and go confidently into the world with your beautifully crafted kimono. Continue exploring the world of fashion and DIY projects, knowing that you have the ability to create something truly remarkable.


