Home>How-to Guides>For Women>How To Make Lingerie
For Women
How To Make Lingerie
Modified: August 2, 2023
Discover the secrets of creating stunning lingerie for women with our step-by-step guide. Master the art of designing and sewing beautiful undergarments that will make every woman feel confident and empowered.
(Many of the links in this article redirect to a specific reviewed product. Your purchase of these products through affiliate links helps to generate commission for Under-tec.com, at no extra cost. Learn more)
Table of Contents
Introduction
When it comes to expressing femininity and embracing sensuality, one garment that holds a special place is lingerie. Beautiful and alluring, lingerie has the power to make a woman feel confident and empowered. While there are countless options available on the market, there is something truly special about creating your own lingerie. Not only does it offer a unique and personalized touch, but it also allows you to unleash your creativity and showcase your sewing skills.
In this article, we will guide you through the process of making your own lingerie. From choosing the right fabrics to adding the finishing touches, we will cover everything you need to know to create stunning pieces that fit you perfectly.
Before we dive into the technical details, it is important to remember that making lingerie is not only about the end result, but also about the journey. Each step of the process is an opportunity to learn and grow, to experiment with different techniques, and to truly make something that reflects your individual style and personality.
Whether you are a seasoned seamstress or a beginner with a passion for fashion, this guide will provide you with the knowledge and inspiration needed to embark on your lingerie-making adventure. So, let’s get started and discover the art of creating beautiful and captivating lingerie that is truly one-of-a-kind!
Choosing Fabrics
When it comes to lingerie, the choice of fabrics is crucial. Not only do you want fabrics that are visually appealing, but you also want materials that are comfortable against the skin and have the right amount of stretch. Here are some factors to consider when choosing fabrics for your homemade lingerie.
1. Comfort: Comfort should be your top priority when selecting fabrics for lingerie. Look for materials that are soft, lightweight, and breathable. Natural fibers like cotton and silk are great options as they are gentle on the skin and have excellent moisture-wicking properties.
2. Stretch: Lingerie needs to have some stretch to ensure a perfect fit and freedom of movement. Fabrics like spandex and jersey are known for their stretchability and are perfect for creating form-fitting lingerie.
3. Elasticity: In addition to the overall stretch of the fabric, consider the elasticity of specific areas, such as the neckline or the leg openings. You can use elastic trims to add elasticity to these areas and ensure a snug and comfortable fit.
4. Appearance: The visual appeal of your lingerie is also important. Choose fabrics with beautiful prints, delicate lace, or elegant embroidery to add a touch of glamour. Satin, lace, and mesh fabrics are popular choices for creating luxurious and seductive lingerie.
5. Care Instructions: Consider the care instructions for the fabrics you are choosing. Lingerie often requires delicate care, so opt for fabrics that are machine washable or easy to hand wash to ensure longevity.
Before purchasing large quantities of fabric, it’s always a good idea to order swatches to feel the texture, stretch, and drape of the materials. This allows you to assess the quality and make any necessary adjustments before starting your lingerie-making project.
Remember, the fabric you choose will greatly impact the overall look and feel of your lingerie. So take your time, explore different options, and select fabrics that make you feel confident and comfortable.
Taking Measurements
Accurate measurements are essential when it comes to creating lingerie that fits you perfectly. Taking precise measurements ensures that your finished piece will be comfortable, flattering, and supportive. Here’s a step-by-step guide on how to take measurements for your homemade lingerie:
1. Bust: Measure around the fullest part of your bust, making sure the measuring tape is straight and parallel to the floor. Take note of this measurement.
2. Underbust: Measure directly under your bust, where the band of your bra would sit. Make sure the measuring tape is snug but not too tight. Note down this measurement as well.
3. Waist: Locate the smallest part of your waist, usually just above your belly button. Wrap the measuring tape around your waist and take the measurement.
4. Hips: Measure around the fullest part of your hips, usually at the widest point. Ensure that the tape is parallel to the floor and not too tight or too loose.
5. Torso Length: Measure from the base of your neck down to the desired length of your lingerie. This will depend on whether you are making a bralette, teddy, or one-piece lingerie. Take note of this measurement as well.
6. Cup Size: To determine your cup size, subtract your underbust measurement from your bust measurement. The difference between the two will correspond to your cup size according to the bra sizing chart.
Remember to wear a well-fitting bra when taking measurements, as this will ensure greater accuracy. It’s also a good idea to measure yourself while standing in front of a mirror or having a friend assist you to ensure precise measurements.
Keep your measurements handy when selecting a pattern or altering an existing pattern. This will help you determine the correct size and ensure a proper fit for your homemade lingerie.
Selecting a Pattern
When it comes to making your own lingerie, selecting the right pattern is key. A good pattern will provide clear instructions and illustrations, making the sewing process easier and more enjoyable. Here are some tips to consider when choosing a pattern for your homemade lingerie:
1. Style: Determine the type of lingerie you want to create, whether it’s a bralette, camisole, teddy, or a set of panties. Look for patterns that offer the style or styles you desire. Consider your personal preferences and the purpose of the lingerie – whether it’s for everyday wear, special occasions, or both.
2. Size Range: Ensure that the pattern you choose offers your size or the size range that covers your measurements. It’s important to select a pattern that will require minimal alterations to achieve the perfect fit.
3. Skill Level: Consider your sewing skills and choose a pattern that matches your level of expertise. Some patterns may be more suited for beginners, while others may require advanced techniques such as sewing with stretch fabrics or working with delicate lace. Starting with a pattern that matches your skill level will ensure a more successful outcome.
4. Detailed Instructions: Look for patterns that provide clear and detailed instructions, including illustrations or diagrams. This will help you understand each step of the sewing process and make it easier to follow along, especially if you are new to lingerie-making.
5. Customization Options: Consider whether the pattern allows for customization. Some patterns may include options for different cup sizes, adjustable straps, or additional design details. Having the ability to customize the pattern to your liking will ensure that your finished lingerie reflects your personal style.
There are many resources available online where you can find a wide range of lingerie patterns, including both free and paid options. Take the time to browse through different patterns, read reviews, and choose one that resonates with you and your lingerie-making goals.
Remember, selecting the right pattern is just the first step in bringing your lingerie vision to life. With the right pattern in hand, you can move forward with confidence and excitement to create a piece that is uniquely yours.
Cutting the Fabric
Once you have selected your pattern, it’s time to move on to the next step in making your own lingerie: cutting the fabric. Proper cutting is essential to ensure accuracy and precision in the construction of your garment. Here are some guidelines to follow when cutting the fabric for your homemade lingerie:
1. Prepare Your Workspace: Set up a clean and organized workspace with enough room to spread out your fabric. Make sure you have all the necessary tools, including a sharp pair of fabric scissors, pins, and a cutting mat or a flat surface to work on.
2. Lay Out the Pattern Pieces: Carefully lay out your fabric on a flat surface and place the pattern pieces on top, following the layout guide provided in the pattern instructions. Pay attention to grainlines, selvages, and any directional prints or textures on the fabric.
3. Pin the Pattern Pieces: Use sewing pins to secure the pattern pieces to the fabric. Make sure the pins are inserted perpendicular to the fabric and go through both layers if you are cutting multiple pieces at once.
4. Cut with Precision: Take your time to cut along the designated lines of the pattern pieces. Use long, smooth, and even strokes with your fabric scissors to ensure clean and accurate cuts. Be careful not to cut into or beyond the seam allowance indicated on the pattern.
5. Mark Key Points: Use fabric marking tools to transfer any notches, darts, or other important markings from the pattern pieces onto the fabric. This will help you align and assemble the pieces correctly later on.
6. Repeat for all Pieces: Continue pinning and cutting each piece of the pattern until you have cut out all the necessary fabric pieces for your lingerie project. Double-check that you have cut the correct number of each piece as per the pattern instructions.
7. Store and Organize: Once all the fabric pieces are cut, carefully remove the pins and store the remaining fabric scraps. Keeping your workspace neat and organized will make it easier to locate the pieces as you move forward with the sewing process.
Remember, precision is key when cutting the fabric for your lingerie. Take your time, follow the pattern instructions closely, and ensure that the fabric pieces are cut accurately to achieve the best results.
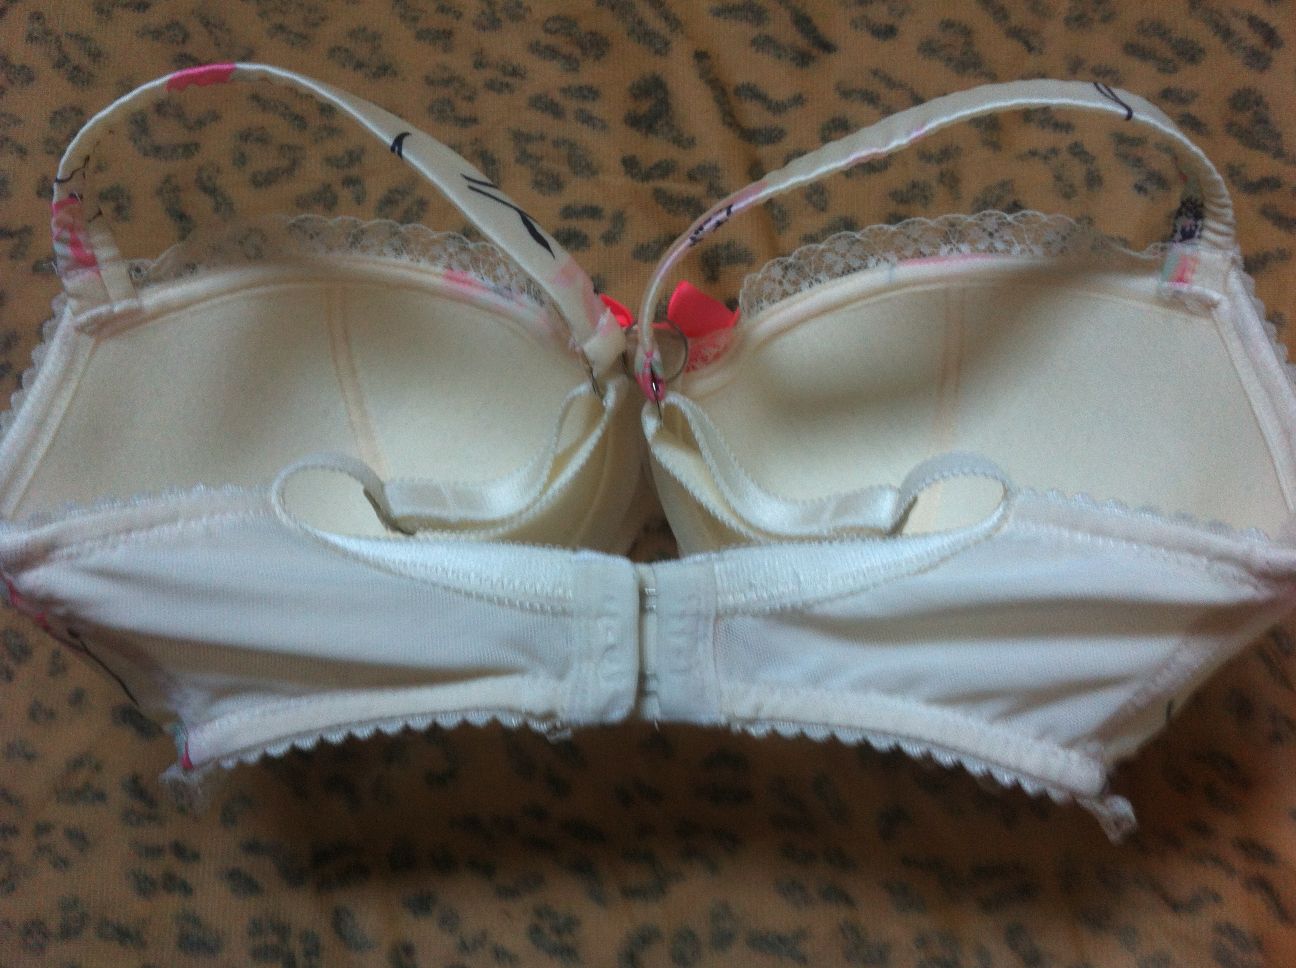
Sewing the Pieces Together
Now that you have cut out all the required fabric pieces, it’s time to start sewing them together to bring your lingerie to life. The sewing process is where all the individual elements begin to come together to create a cohesive and functional garment. Here are some steps to follow when sewing the pieces of your homemade lingerie:
1. Prepare Your Sewing Machine: Ensure that your sewing machine is set up with the appropriate needle and thread for the fabric you are working with. Test the stitch tension and length on a fabric scrap before starting to sew the actual pieces.
2. Follow the Pattern Instructions: Refer to the pattern instructions for the specific sewing techniques and steps needed to assemble the lingerie. It will guide you on things like seam allowances, stitch types, and construction details.
3. Start with Seams: Begin sewing by joining the fabric pieces together along the designated edges. Pin the pieces to be sewn together, right sides facing each other, and then use a straight stitch or a zigzag stitch (depending on the fabric) to sew along the pinned line. Remember to backstitch at the beginning and end of each seam for added durability.
4. Add Reinforcements: Certain areas of the lingerie, such as bra straps or the center front of a bra, may require additional reinforcement. Follow the pattern instructions to add any necessary stabilizers or interface these areas to provide extra support and structure.
5. Insert Closures or Fastenings: If your lingerie design calls for closures or fastenings, such as hooks, snaps, or buttons, carefully insert them according to the pattern instructions. Take your time to ensure they are placed securely and evenly for a professional finish.
6. Finishing Touches: Pay attention to the finishing details of your lingerie, such as topstitching, edging, or adding decorative trims. These details can elevate the overall look and provide a polished appearance to your finished garment.
7. Try It On: Once you have completed the main construction, it’s a good idea to try on your lingerie to check the fit. This is the ideal time to make any adjustments or alterations if needed.
Remember to be patient and take your time during the sewing process. Sewing lingerie requires precision and careful attention to detail. With each seam, stitch, and finished edge, your lingerie will start to take shape and resemble the design you envisioned.
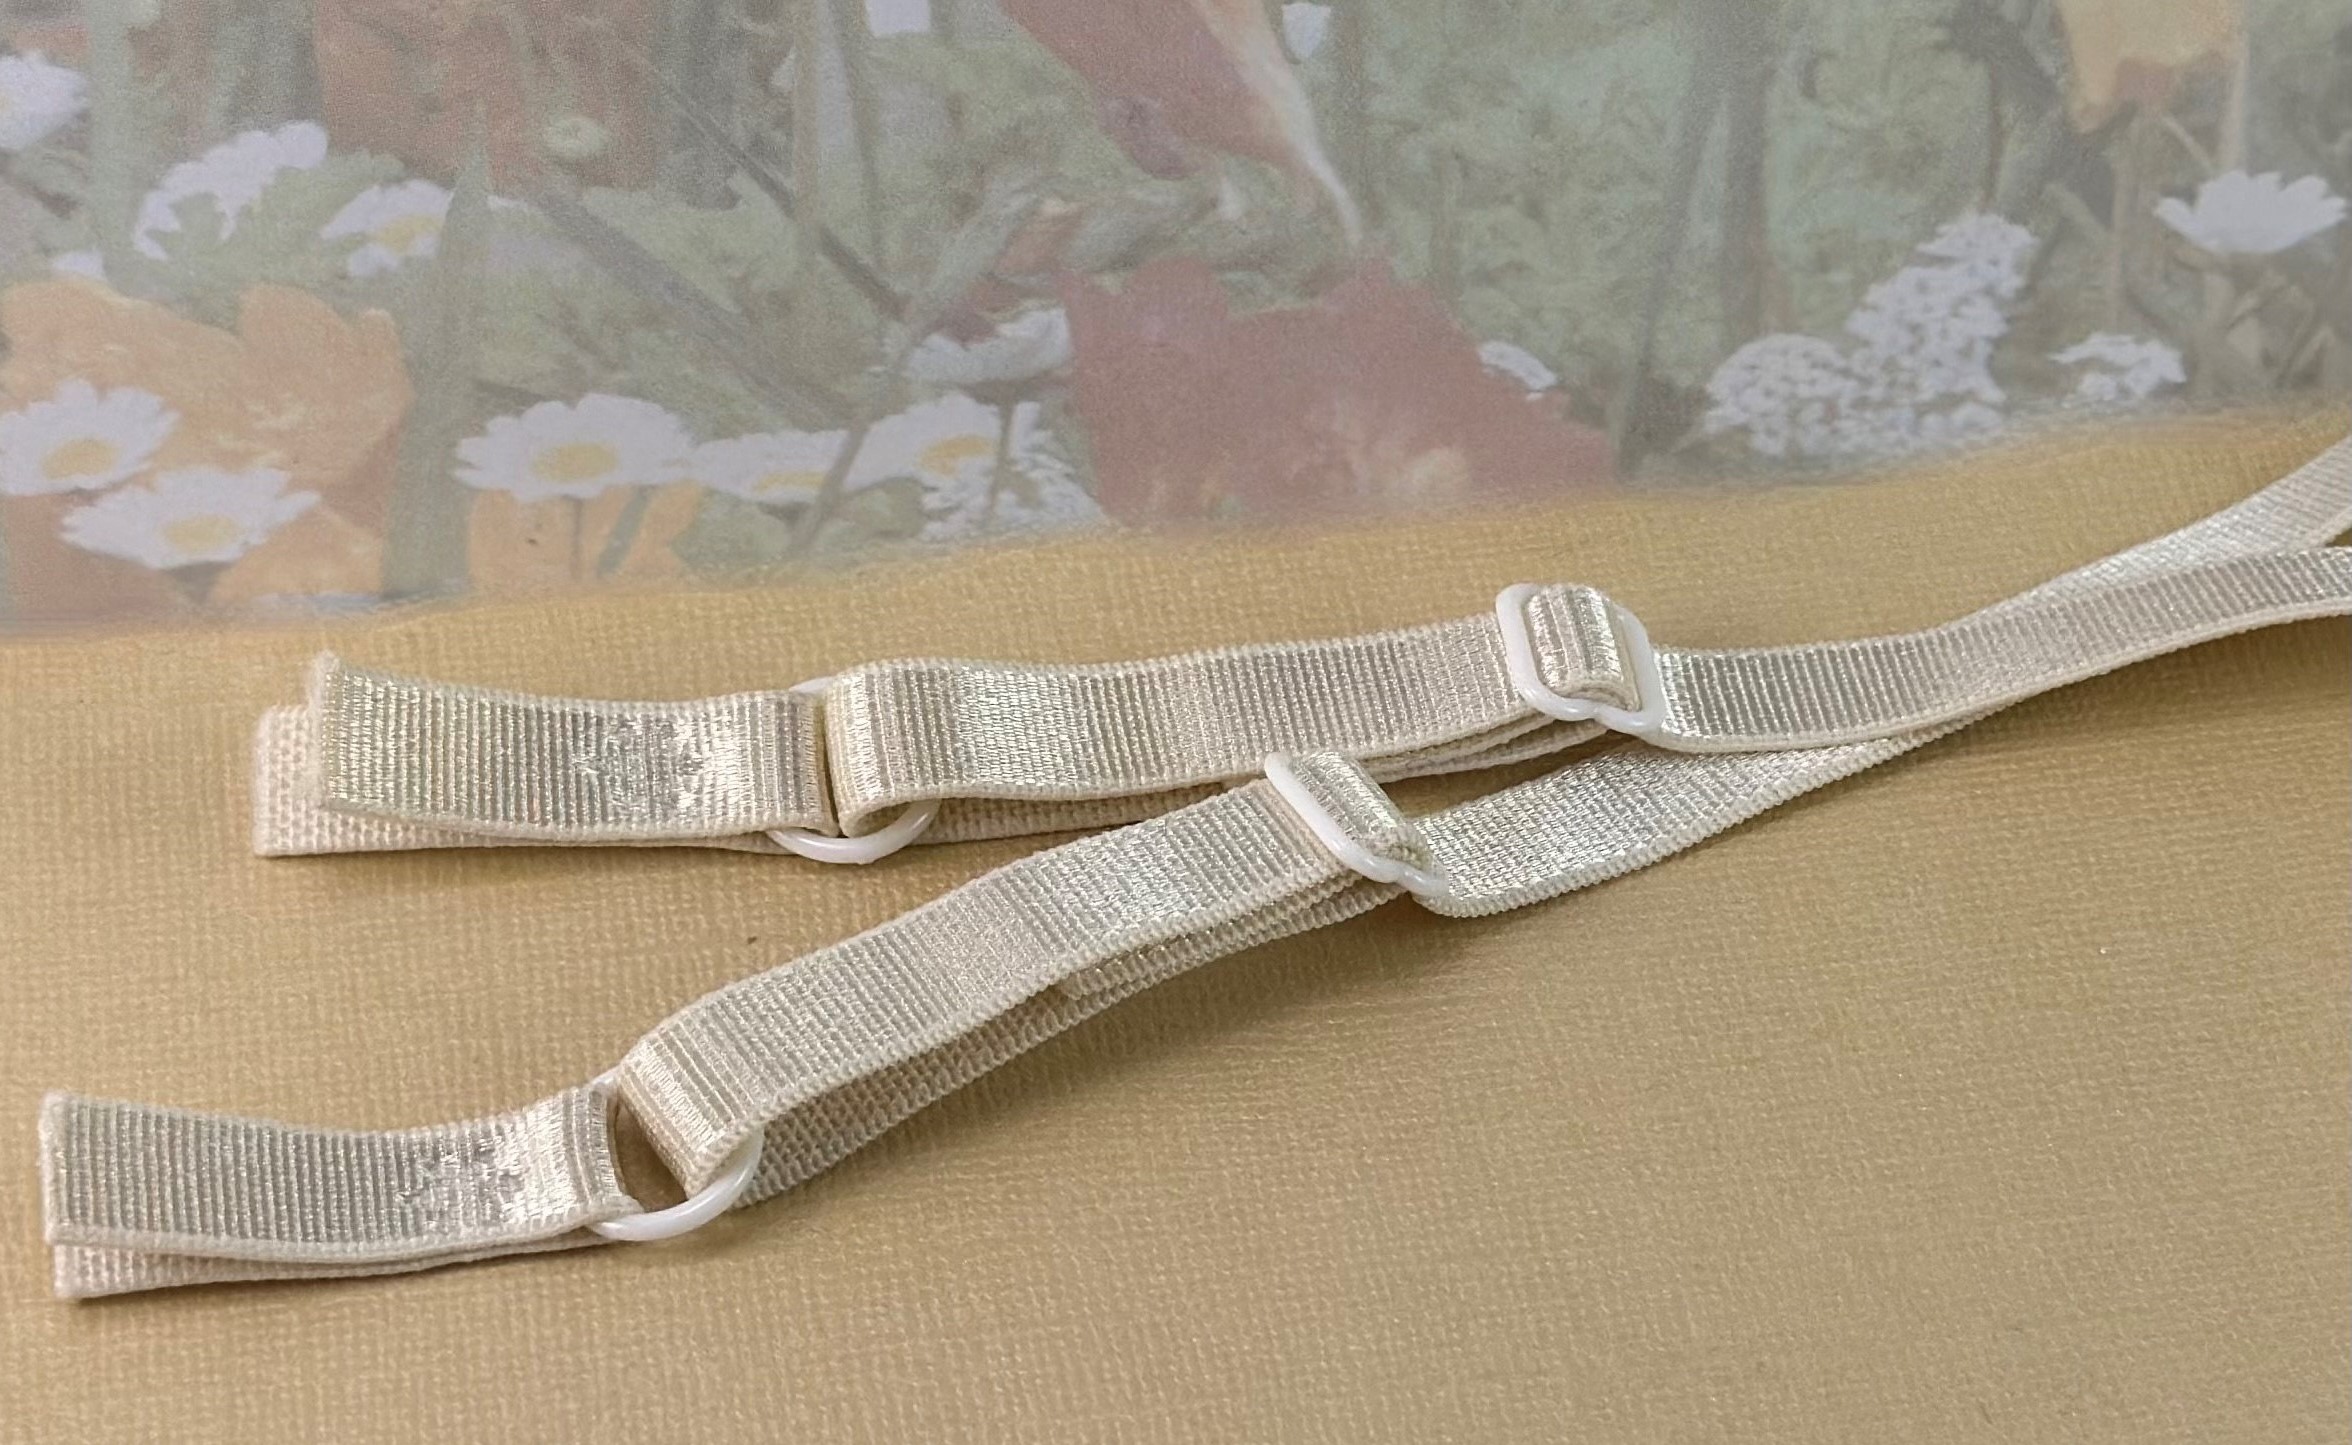
Adding Elastic and Straps
As you progress in sewing your own lingerie, the next step is to add elastic and straps to your garment. These elements contribute to both the fit and functionality of your lingerie. Here’s a guide on how to add elastic and straps to your homemade lingerie:
1. Choose the Right Elastic: Select elastic that is suitable for lingerie, such as picot elastic or plush-back elastic, which is soft against the skin. Ensure that the width of the elastic matches the pattern instructions or your desired design.
2. Measure and Cut Elastic: Measure the length of elastic needed for each area, such as under the bust or around leg openings. Add a small overlap to ensure a secure fit. Cut the elastic to the measured lengths.
3. Attach Elastic: Pin the elastic to the corresponding edges, such as the bottom band of a bra or the waistline of panties. Ensure that the elastic is evenly stretched as you sew it in place. Use a zigzag stitch or a stretch stitch to attach the elastic, overlapping the ends to secure them.
4. For Straps: If your lingerie design includes adjustable straps, insert strap sliders and rings onto the elastic straps before attaching them to the body of the garment. Follow the pattern instructions on the correct placement and sewing technique for attaching the straps.
5. Test and Adjust: Once the elastic and straps are attached, try on your lingerie to test the fit and adjust as necessary. You may need to tighten or loosen the elastic or make minor adjustments to the strap length to achieve the desired fit.
6. Finishing Touches: Trim any excess elastic and carefully finish the edges for a clean and professional look. Consider using a lingerie finishing technique, such as folding the elastic over the fabric edge or applying elastic trim, to provide a polished finish.
Adding elastic and straps is a critical step in ensuring that your lingerie fits comfortably and stays in place during wear. Pay attention to the stretch and tension of the elastic, as well as the placement and adjustability of the straps, to create a customized fit for your body.
Remember that practice makes perfect when it comes to adding elastic and straps. Take your time, follow the pattern instructions, and don’t hesitate to make adjustments along the way to achieve the best results for your unique lingerie creation.
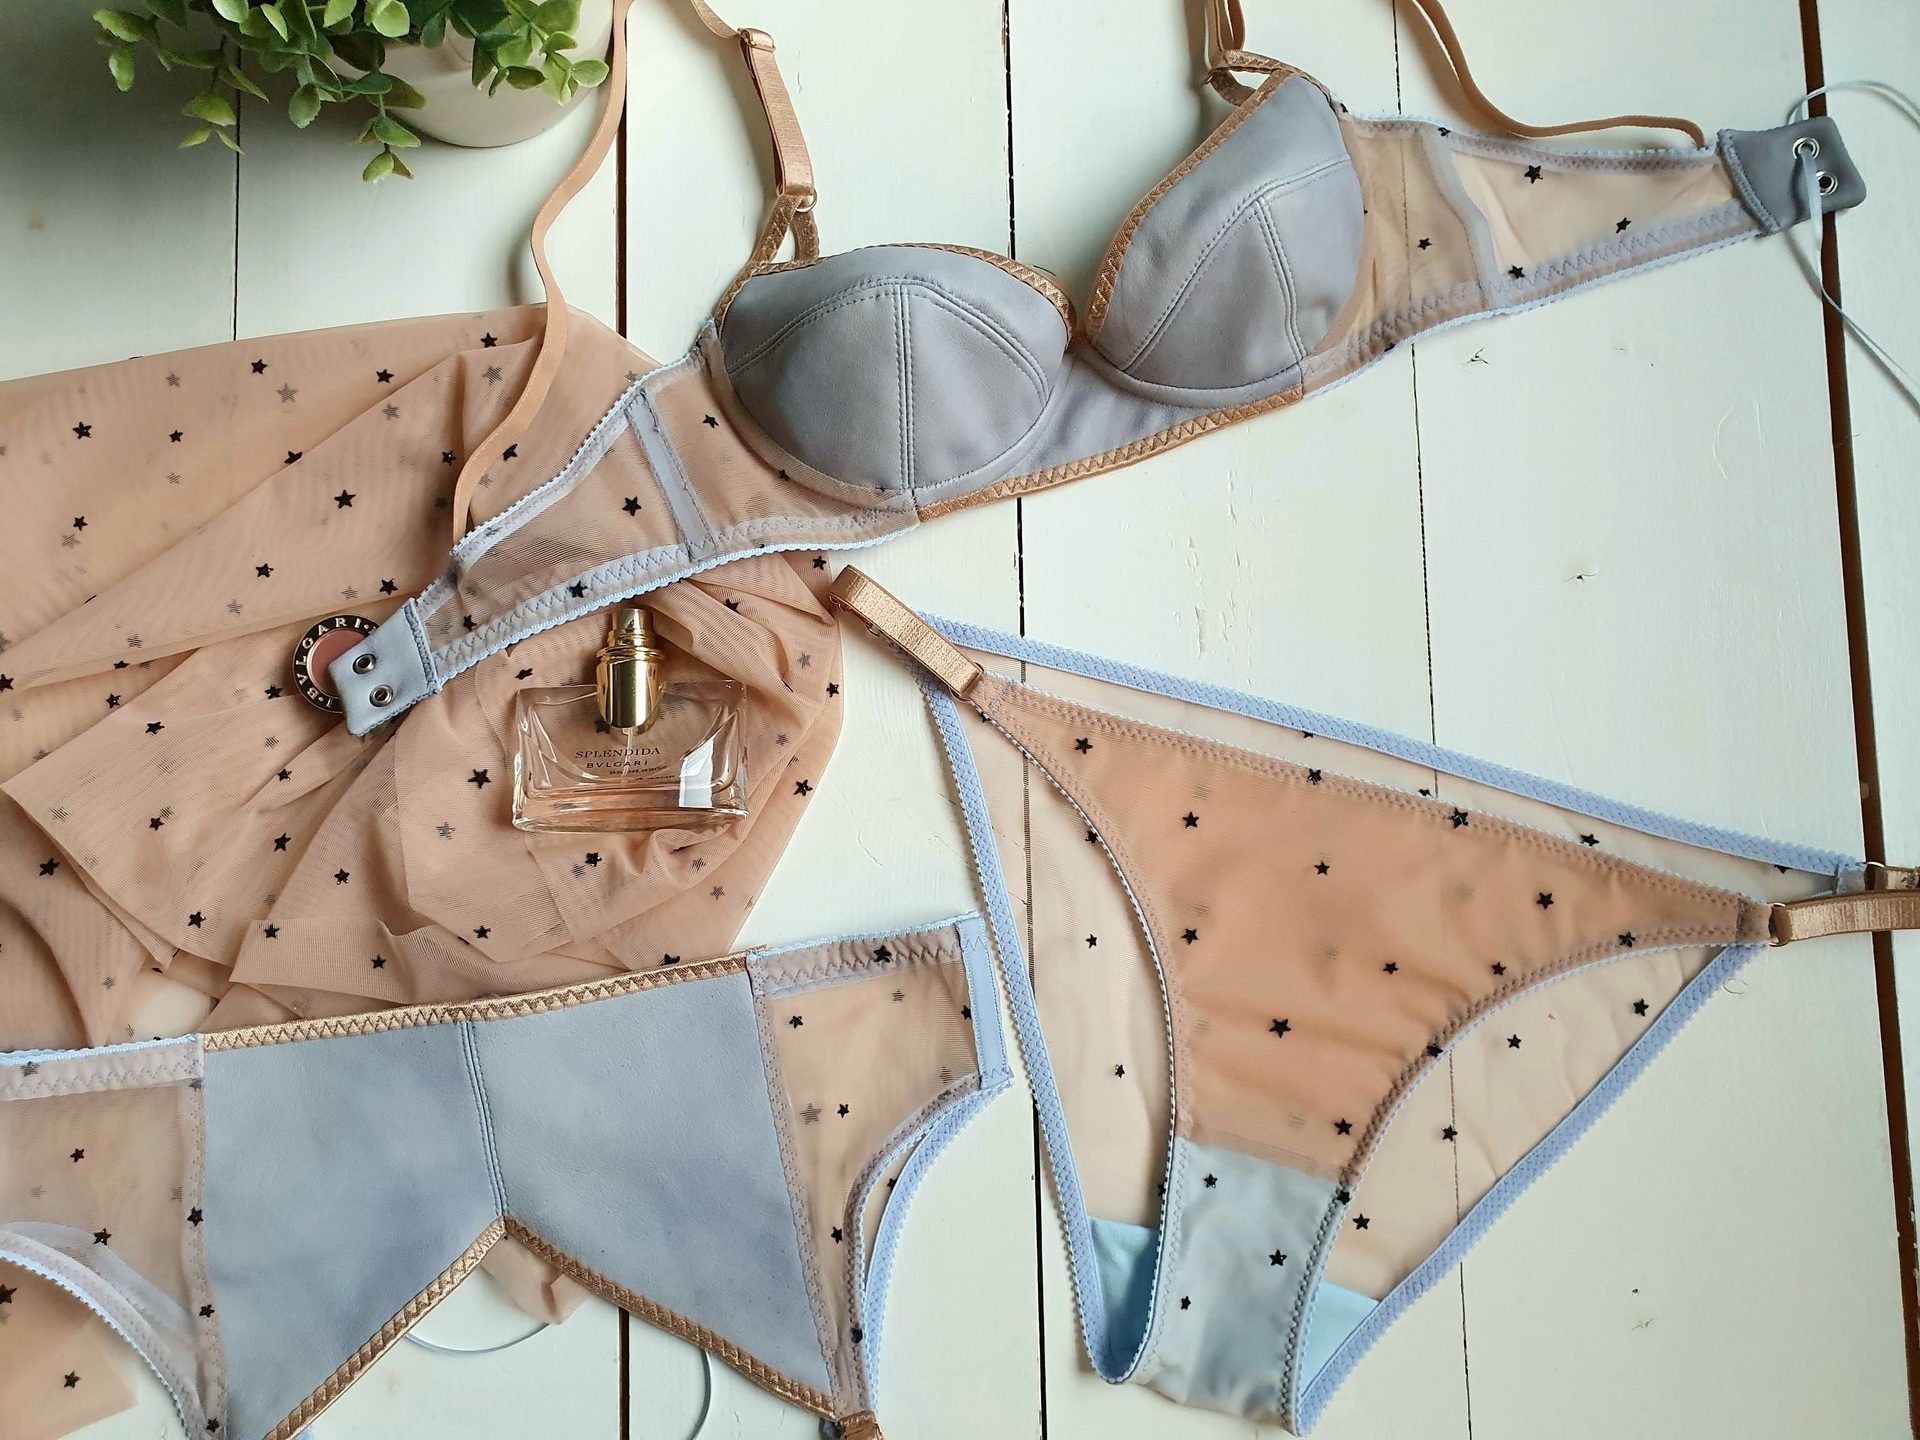
Applying Finishing Touches
As you near the completion of your homemade lingerie project, it’s time to focus on applying the finishing touches that will elevate your garment and give it a professional look. These final details can make a significant difference in the overall appearance and quality of your lingerie. Here are some essential finishing touches to consider:
1. Hemming: Carefully hem any raw edges of your lingerie to prevent fraying. Depending on the design and fabric, you can choose to fold and stitch the edges or apply a narrow rolled hem for a delicate finish.
2. Topstitching: Utilize topstitching to add both style and functionality to your lingerie. It can be used to highlight seams, secure elastic, or add decorative stitching details. Ensure your machine has the appropriate needle and thread for achieving neat and even topstitching.
3. Reinforcing Where Needed: Take a close look at the areas that may experience more stress, such as strap attachment points or underwire casings. Consider reinforcing these spots with an additional row of stitching or reinforcing fabric to increase durability.
4. Embellishments: Add a personal touch to your lingerie by incorporating embellishments such as lace trims, satin bows, or decorative appliques. These small details can elevate the overall look and make your lingerie even more visually stunning.
5. Pressing and Steaming: Give your finished lingerie a final touch-up by pressing or steaming it. This will help smooth out any wrinkles and improve the overall appearance of the garment. Be mindful of the fabric type and use the appropriate heat settings to avoid damaging delicate materials.
6. Quality Check: Before considering your lingerie project complete, conduct a thorough quality check. Examine each seam, stitch, and attachment to ensure they are secure and neat. Look for any loose threads or imperfections and make necessary adjustments or repairs.
By paying attention to these finishing touches, you can achieve a beautifully crafted and professional-looking lingerie piece. Each detail contributes to the overall fit, comfort, and aesthetics of the garment, ensuring that you are proud of your creation.
Remember to take your time during this phase and focus on the precision and care needed to make your finishing touches impeccable. The extra effort will be well worth it when you see the final result – a stunning and custom-made lingerie piece that you can confidently wear.
Conclusion
Congratulations! You have completed your journey into the world of making your own lingerie. By following the steps outlined in this guide, you have learned how to choose the right fabrics, take accurate measurements, select a pattern, cut the fabric, sew the pieces together, add elastic and straps, and apply the finishing touches. The result is a stunning piece of lingerie that is unique to you and perfectly tailored to your body.
Making your own lingerie allows you to express your creativity, showcase your sewing skills, and create garments that fit you perfectly. It’s a rewarding and fulfilling experience that not only results in beautiful lingerie but also gives you a sense of empowerment and confidence.
Remember, the process of creating lingerie is a continuous learning experience. Don’t be afraid to experiment with different fabrics, patterns, and design variations. Explore new techniques, seek inspiration from other lingerie makers, and have fun along the way.
Whether you’re making lingerie for yourself or as a gift for someone special, the satisfaction of wearing a piece of lingerie that you have crafted with your own hands cannot be overstated. It is a truly special experience that brings joy and a sense of accomplishment.
Now, go ahead and embrace your newfound skills and continue exploring the world of lingerie making. With each project, you will improve your techniques, refine your style, and create even more stunning lingerie pieces. Enjoy the process and embrace the transformation from a mere garment to a work of art that celebrates femininity and sensuality in the most intimate way.