Home>How-to Guides>For Women>How To Make Your Own Padded Panties

For Women
How To Make Your Own Padded Panties
Modified: July 30, 2023
Discover how to create your own stylish and comfortable padded panties for women with our step-by-step guide. Enhance your curves and feel confident in any outfit.
(Many of the links in this article redirect to a specific reviewed product. Your purchase of these products through affiliate links helps to generate commission for Under-tec.com, at no extra cost. Learn more)
Table of Contents
- Introduction
- Materials Needed
- Step 1: Choosing the Right Underwear
- Step 2: Preparing the Padding Material
- Step 3: Cutting the Padding Material
- Step 4: Attaching the Padding to the Underwear
- Step 5: Testing the Fit and Comfort
- Step 6: Securing the Padding in Place
- Step 7: Finishing Touches and Customization
- Conclusion
Introduction
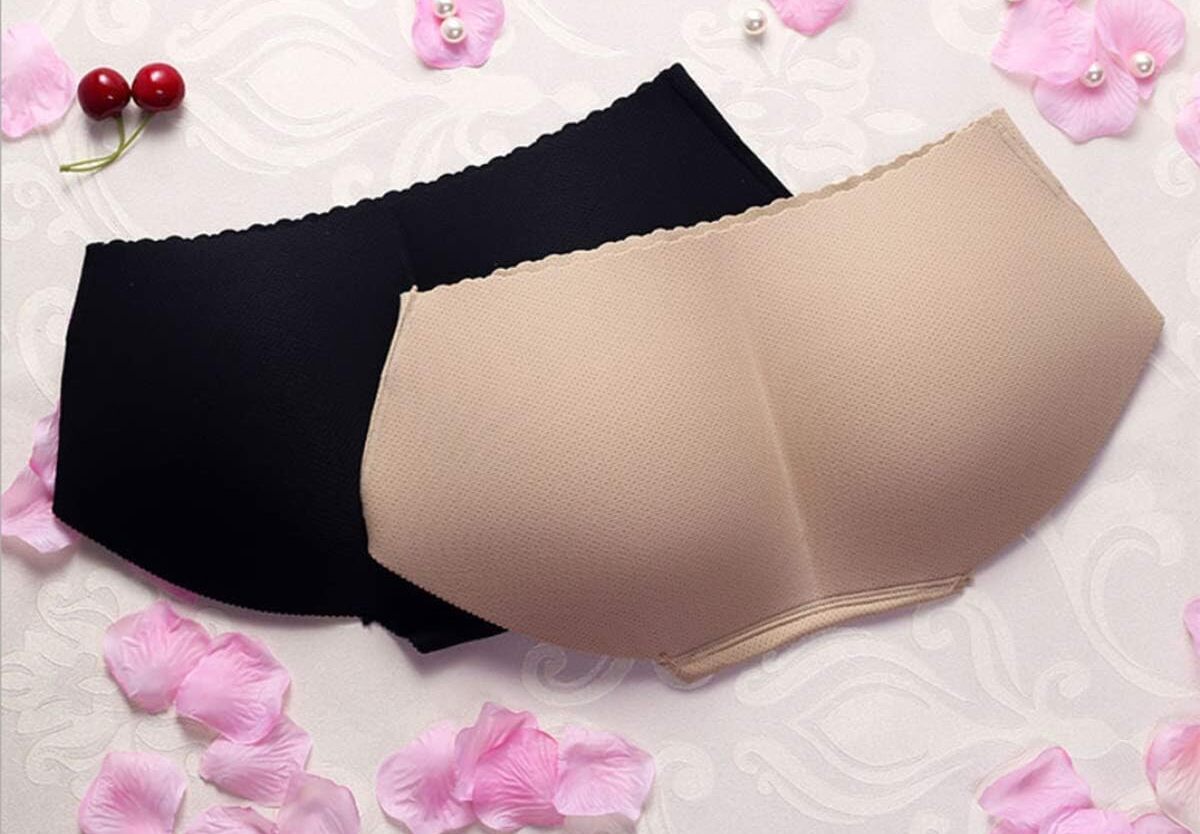
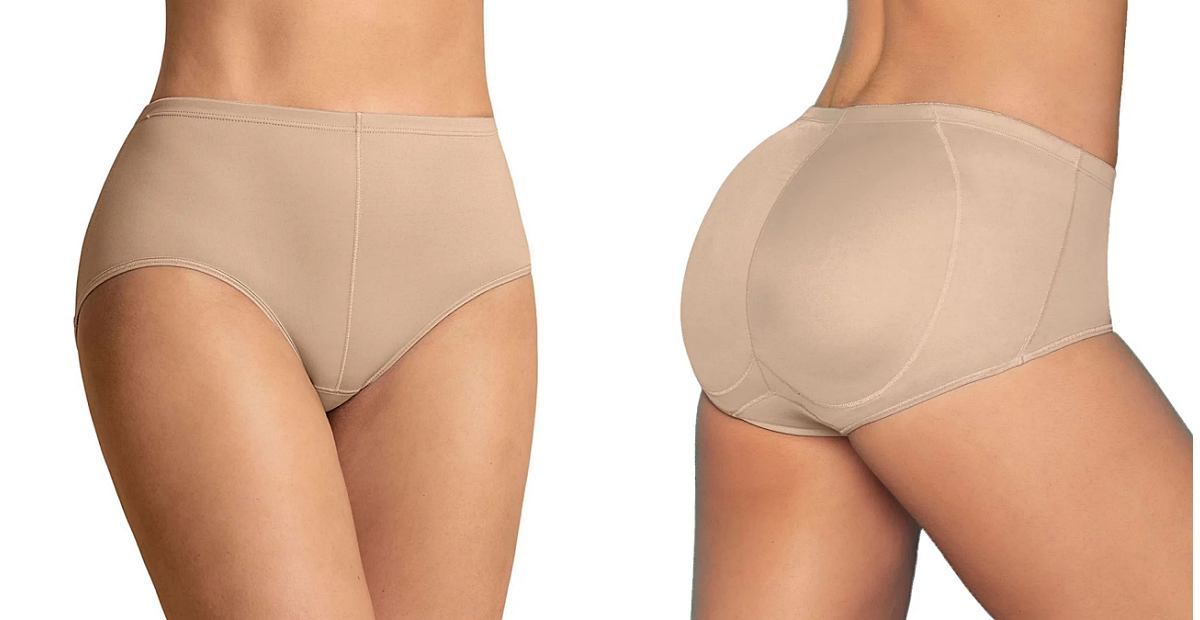
Welcome to the world of do-it-yourself fashion! If you’re looking to add a little extra oomph to your curves, then making your own padded panties is a fun and creative way to enhance your natural shape. Padded panties are a popular undergarment option for women who desire a more voluptuous silhouette, whether for a special occasion or simply to boost their confidence on a daily basis.
In this step-by-step guide, we’ll walk you through the process of making your own padded panties. You don’t need to be a professional seamstress or have extensive sewing skills. With just a few basic materials and some time, you can customize your underwear to fit your body perfectly, using padding material that adds subtle volume and shape where you want it most.
By creating your own padded panties, you have the freedom to choose the style of underwear that suits you best, whether it’s thongs, briefs, or something in between. Plus, you can select from a variety of padding materials, such as foam or silicone, depending on the level of enhancement you desire.
Not only will making your own padded panties help you save money compared to purchasing expensive branded options, but it also allows you to express your unique style and preferences. So, let’s dive into the step-by-step process and get ready to create the perfect padded panties that will make you feel confident, comfortable, and fabulous!
Materials Needed
Before you begin making your own padded panties, gather the following materials:
- Underwear: Choose a pair of underwear that fits you well and is comfortable to wear. Opt for a style that you prefer, whether it’s briefs, boy shorts, or thongs. It’s important to select a pair that you don’t mind altering or adding padding to.
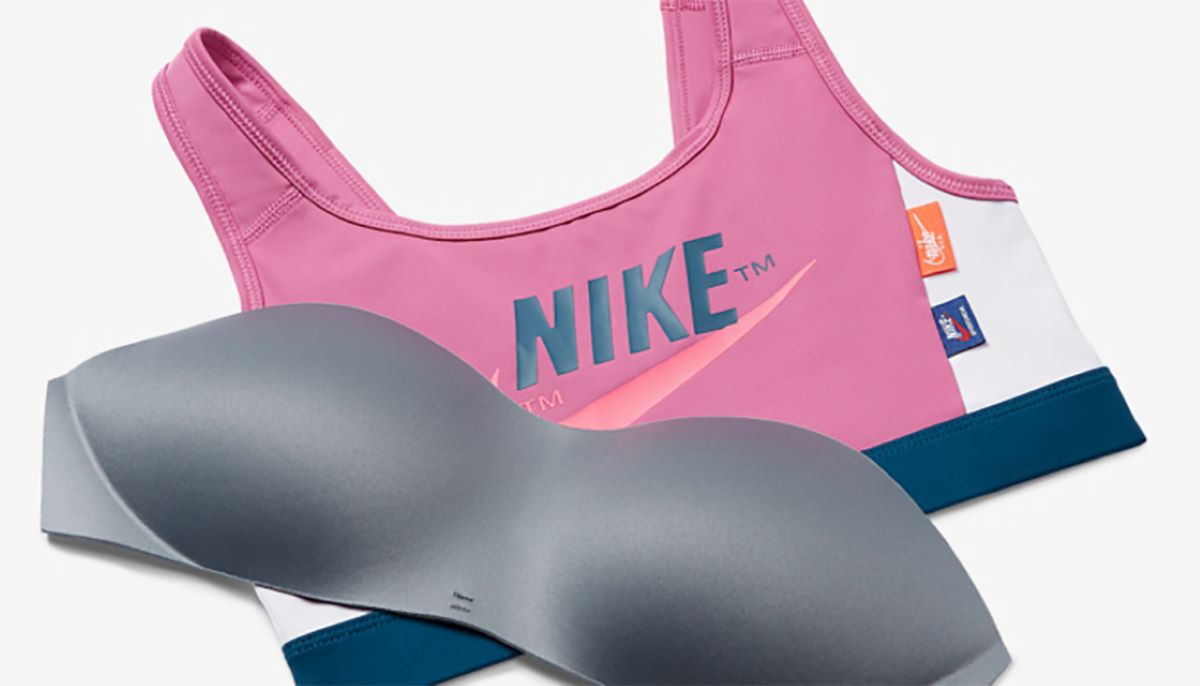
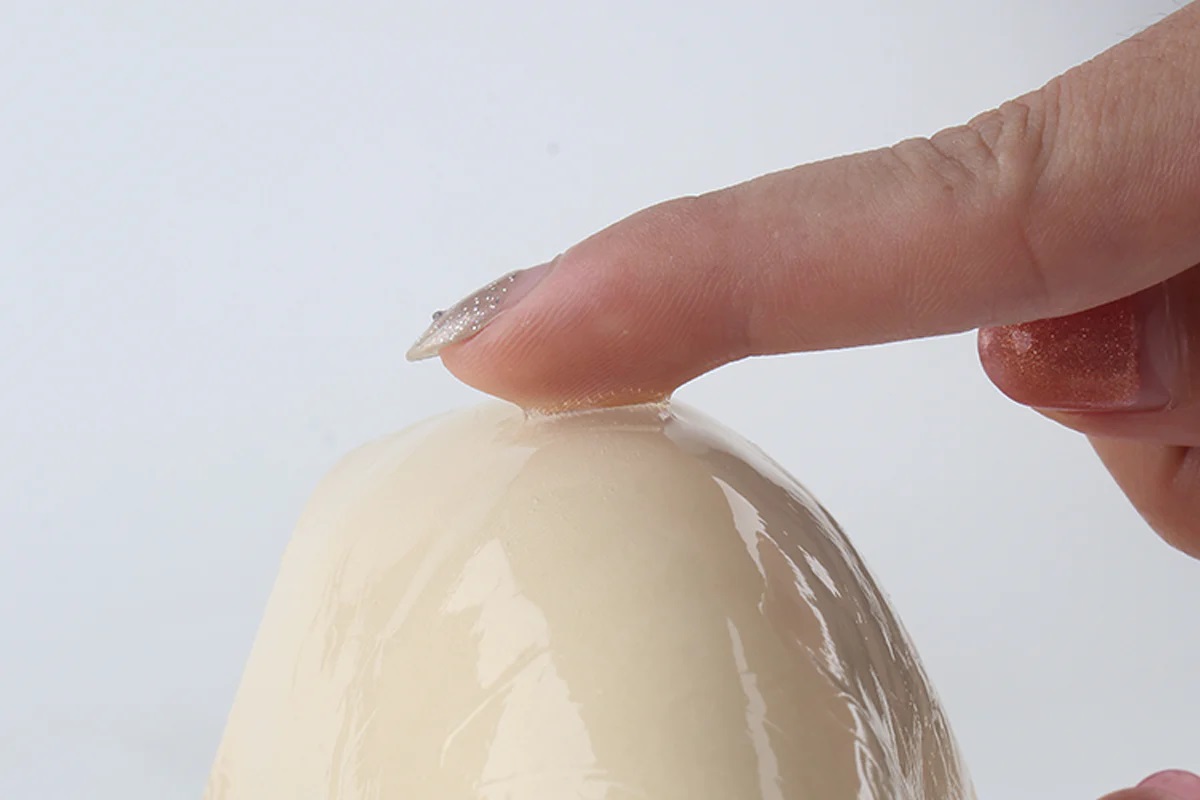
- Padding Material: There are several options available for padding material. You can use foam padding, which provides a subtle enhancement, or opt for silicone padding if you want a more noticeable and realistic effect. Both options can be found online or at craft and fabric stores.
- Fabric Scissors: A good pair of fabric scissors is essential for cutting the padding material to the desired shape and size. Make sure they are sharp and easy to handle.
- Sewing Needle and Thread: Choose a needle that is suitable for the fabric of your underwear and select a thread that matches or complements the color of your underwear. This will ensure your stitches blend seamlessly.
- Sewing Pins: Sewing pins are useful for holding the padding material in place while you attach it to the underwear. They help keep everything aligned and secure during the sewing process.
- Sewing Machine (optional): While not required, a sewing machine can make the process faster and easier. If you have access to one and are comfortable using it, it can be a helpful tool for attaching the padding material.
- Measuring Tape: A measuring tape will come in handy when determining the size and shape of the padding material. It ensures accuracy and ensures that the padding is proportionate to your body.
With these materials on hand, you’re ready to start creating your own padded panties. Remember to choose high-quality materials to ensure durability and comfort. Now that you have everything you need, let’s move on to the next step: choosing the right underwear.
Step 1: Choosing the Right Underwear
When it comes to making your own padded panties, the first step is to choose the right underwear as your base. Here’s how:
1. Consider Comfort: Look for a pair of underwear that is comfortable to wear for long periods. It should fit you well and not cause any irritation or discomfort.
2. Select the Style: Decide on the style of underwear that you prefer, whether it’s briefs, boy shorts, thongs, or any other style that makes you feel confident and comfortable.
3. Size Matters: Ensure that you choose underwear that fits you correctly. Avoid panties that are too tight or too loose, as they may not provide the best foundation for padding.
4. Material and Stretch: Pay attention to the material of the underwear. Opt for a fabric that has some stretchiness, as this will make it easier to attach the padding and provide a better fit.
5. Color and Design: Choose a color and design that you love. This is your chance to personalize your padded panties and make them reflect your personal style.
6. Existing Features: Take note of any existing features on the underwear, such as seams or decorative details. These may affect the placement and attachment of the padding.
Remember, the goal is to create padded panties that look and feel natural on your body. By choosing the right underwear, you’ll have a solid foundation to work with. Now that you’ve selected your base, let’s move on to the next step: preparing the padding material.
Step 2: Preparing the Padding Material
Now that you have chosen the right underwear as your base, it’s time to prepare the padding material. Follow these steps:
1. Select the Padding Material: Depending on the level of enhancement you desire, choose either foam padding or silicone padding. Foam padding provides a subtle boost, while silicone padding offers a more noticeable effect. Consider your personal preferences and comfort when making your selection.
2. Measure and Cut the Padding: Measure the area of your underwear where you want to add the padding. Use a measuring tape to ensure accuracy. Next, transfer the measurements to the padding material and use fabric scissors to carefully cut it to the desired size and shape. Take your time with this step to ensure a neat and precise cut.
3. Smooth the Edges: After cutting the padding material, check the edges for any rough or jagged areas. Smooth them out using a gentle touch or by using a fine-grit sandpaper. This will prevent any discomfort or irritation against your skin.
4. Test the Fit: Place the cut padding material inside the underwear where you intend to attach it. Test the fit to make sure it covers the desired area and feels comfortable. Adjust the size or shape if necessary.
By preparing the padding material in advance, you will have it ready to attach to the underwear in the next step. Take your time to ensure that the padding is the right size and shape to achieve the desired enhancement. Once you’re satisfied, it’s time to move on to the next step: cutting the padding material.
Step 3: Cutting the Padding Material
With the padding material prepared, it’s time to cut it to the proper shape and size. Follow these steps to achieve the perfect fit:
1. Align the Padding Material: Lay the padding material flat on a clean surface. Ensure it is free from any wrinkles or creases to achieve accurate measurements.
2. Place the Underwear as a Guide: Take the pair of underwear you’ve selected as your base and place it on top of the padding material. Make sure it is centered and aligned properly.
3. Trace the Outline: Use a fabric marker or a pencil to trace the outline of the desired padding shape onto the material. Be precise and follow the contours of the underwear. If your padding requires specific shaping, mark any additional lines or curves.
4. Double-Check the Traced Outline: Lift the underwear off the padding material and double-check the traced outline to ensure accuracy. Make any necessary adjustments by refining the lines or curves to achieve the desired shape and size.
5. Cut along the Traced Outline: Once you’re satisfied with the traced outline, use sharp fabric scissors to carefully cut along the lines. Take your time to ensure clean and precise cuts. If you’re cutting foam padding, use long, smooth strokes to prevent jagged edges.
6. Trim and Perfect the Shape: After cutting the main outline, stand back and evaluate the shape. If needed, slightly trim any excess material to achieve the desired fit and contour. Make sure to leave enough material for attaching the padding to the underwear.
By following these steps, you’ll have perfectly cut padding material ready for attachment to your underwear. It’s crucial to take your time and be meticulous during this process to achieve the most natural and seamless results. Now, let’s move on to the next step: attaching the padding to the underwear.
Step 4: Attaching the Padding to the Underwear
Now that you have the padding material cut to the desired shape, it’s time to attach it to the underwear. Follow these steps to securely attach the padding:
1. Position the Padding: Take your underwear and lay it flat on a clean surface. Position the cut padding material on the inside of the underwear where you want the enhancement. Make sure it is centered and aligned properly.
2. Pin the Padding in Place: Using sewing pins, carefully pin the edges of the padding material to the underwear. Start by pinning the corners and then work your way along the edges, spacing the pins evenly. This will hold the padding in place while you sew.
3. Sew the Padding: Thread a needle with a thread color that matches or complements the underwear. Starting from the inside of the underwear, sew around the edges of the padding, using small and discreet stitches. Ensure that your stitches go through both the padding material and the underwear fabric for a secure and seamless attachment.
4. Remove the Pins: Once you have sewn around the entire padding, carefully remove the sewing pins. Use your fingers to check that the attachment is secure and there are no loose threads or uneven stitching.
5. Test the Fit: Put on the underwear and check the fit and feel. Make any necessary adjustments, such as trimming excess material or repositioning the padding, to ensure a comfortable and natural-looking result.
By following these steps, you’ll have successfully attached the padding to your underwear. Take your time and ensure the stitches are secure to prevent any shifting or discomfort. Now, let’s move on to the next step: testing the fit and comfort of your newly created padded panties.
Step 5: Testing the Fit and Comfort
After attaching the padding to your underwear, it’s important to test the fit and comfort before proceeding. Follow these steps to ensure the best results:
1. Put on the Padded Panties: Slip on the newly created padded panties and adjust them to align properly with your body. Take a moment to assess the fit and make any necessary adjustments.
2. Move and Stretch: Move around, sit, stand, and walk to test the flexibility and comfort of the padded panties. Pay attention to any discomfort, tightness, or shifting of the padding material.
3. Check Proportions: Assess the proportions of the padding in relation to your body. Ensure the enhancement looks natural and proportionate with the rest of your figure. If necessary, make slight modifications to achieve the desired look.
4. Evaluate Appearance: Stand in front of a mirror and assess the appearance of the padded panties. Check for any visible lines, wrinkles, or bulges. Adjust the positioning of the padding if needed for a smooth and seamless look.
5. Consider Comfort and Confidence: Gauge your comfort level and confidence while wearing the padded panties. It’s important that they feel good on your body and boost your confidence. If there are any areas of discomfort or dissatisfaction, address them by adjusting the fit or making further modifications.
By thoroughly testing the fit and comfort of your padded panties, you can ensure they provide the desired enhancement and remain comfortable for extended wear. Take the time to make any necessary adjustments before proceeding to the next step: securing the padding in place.
Step 6: Securing the Padding in Place
Once you have tested the fit and comfort of your padded panties, it’s important to secure the padding in place to prevent any shifting or movement. Follow these steps to ensure a secure attachment:
1. Remove the Underwear: Take off the padded panties and place them on a clean surface for easy access.
2. Stitch the Padding to the Underwear: Start by carefully hand-sewing the corners of the padding to the fabric of the underwear. Use small, discreet stitches to securely attach the padding at the edges. Work your way around the entire padding, spacing the stitches evenly. This will help keep the padding in place and prevent it from shifting during wear.
3. Reinforce with Additional Stitches: If desired, you can reinforce the attachment by adding additional stitches in the center or strategic areas of the padding. This will provide extra support and stability.
4. Trim Any Excess Thread: After securing the padding, trim any excess thread to ensure a clean and polished finish.
5. Test the Sturdiness: Put on the padded panties once again and ensure the padding remains securely in place. Move around, sit, stand, and perform various movements to test the sturdiness of the attachment.
6. Make Further Adjustments if Necessary: If you notice any areas where the padding feels loose or shifts during movement, reinforce those areas with additional stitches. It’s important to create a secure and stable attachment to ensure the padding stays in place throughout wear.
By following these steps, you’ll be able to securely attach the padding to your underwear, providing a reliable and long-lasting enhancement. Now, let’s move on to the final step: putting the finishing touches on your newly created padded panties.
Step 7: Finishing Touches and Customization
Congratulations! You’ve reached the final step in making your own padded panties. Now, it’s time to add the finishing touches and customize them to suit your personal style. Follow these steps for the perfect finishing touches:
1. Trim Excess Padding: If there are any areas where the padding extends beyond the edges of the underwear, use sharp fabric scissors to carefully trim off the excess. This will ensure a clean and polished appearance.
2. Sew Neatly: Take a close look at the stitching that attaches the padding to the underwear. If necessary, go over the stitches and ensure they are neat, discreet, and secure. Trim any excess thread for a clean finish.
3. Conceal the Padding: If you prefer a more discreet look, consider adding a layer of fabric or lining over the padding. This can be stitched or glued onto the underwear, providing an extra layer of coverage and ensuring the padding isn’t visible from the outside.
4. Add Embellishments: Get creative and personalize your padded panties by adding embellishments. You can sew on lace trim, ribbon, or decorative appliques to enhance the visual appeal. Just make sure the embellishments don’t interfere with the comfort or functionality of the underwear.
5. Customize with Color or Patterns: Consider dyeing the underwear or choosing fabrics with patterns or colors that match your personal style. This will further customize and personalize your padded panties.
6. Test Wearability: Put on the finished padded panties and test them for comfort, fit, and appearance. Move around, sit, and perform various movements to ensure they feel comfortable and look natural on your body.
7. Laundering Instructions: Finally, make a note of any specific laundering instructions for your padded panties. Check if the padding can be removed for washing, or if the entire garment needs special care. Follow these instructions to keep your creation in optimal condition.
With the finishing touches and customization complete, you now have a pair of padded panties that are uniquely tailored to your body and style. Enjoy the confidence and enhanced shape they provide!
Conclusion
Congratulations on successfully creating your own padded panties! By following the step-by-step guide in this article, you’ve learned how to choose the right underwear, prepare the padding material, cut and attach the padding, and secure it in place. You’ve also discovered how to test the fit and comfort, and add the finishing touches to personalize your creation.
By making your own padded panties, you have the freedom to customize them to fit your unique body shape and personal style. Whether you’re looking for a subtle enhancement or a more noticeable boost, these homemade padded panties provide a cost-effective and creative way to enhance your natural curves.
Remember, your comfort and confidence should always be the priority when creating and wearing padded panties. Take your time during each step to ensure the best fit, secure attachment, and overall comfort. Personalize your creation with embellishments and colors that reflect your individual taste.
Creating your own padded panties not only gives you the chance to save money compared to purchasing expensive branded options, but it also allows you to express your creativity and unleash your inner fashion designer. You have the power to enhance your shape and feel confident in your own skin.
So, embrace your creativity, experiment with different fabrics and padding materials, and enjoy the process of making your own unique padded panties. Whether you wear them for special occasions or as part of your everyday wardrobe, they are sure to make you feel fabulous and empowered.
Now that you have the knowledge and skills, it’s time to unleash your inner designer and start making your own padded panties. Enjoy the process and get ready to rock a more confident and enhanced silhouette!
